
To draw a drone, start by gathering your materials like a sketchbook, pencils, and an eraser. Begin with basic shapes—draw a rectangle for the body and circles for the rotors. Refine the drone’s shape based on your chosen type. Add details like propellers and a camera, and don’t forget shading for depth. Finally, consider color to bring your design to life. Keep practicing, and you’ll discover even more creative techniques ahead!
Gather Your Materials
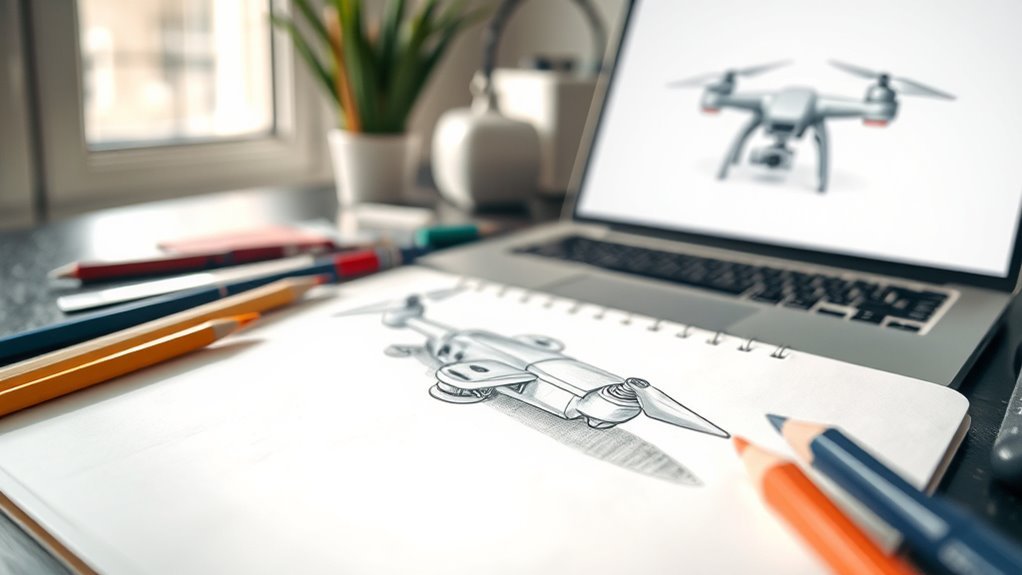
Before you plunge into drawing your drone, it’s essential to gather your materials. Start with a materials checklist to guarantee you have everything you need. Grab a sketchbook or some high-quality paper, along with pencils in various hardness levels—these are your essential tools for shading and detailing. Don’t forget an eraser for any adjustments you’ll want to make along the way. If you like, you can also gather colored pencils or markers to add some flair to your design later. Having these materials ready will give you the freedom to express your creativity without interruptions. So, take a moment to collect everything, and you’ll be set to start your exciting journey into drawing your very own drone!
Start With Basic Shapes
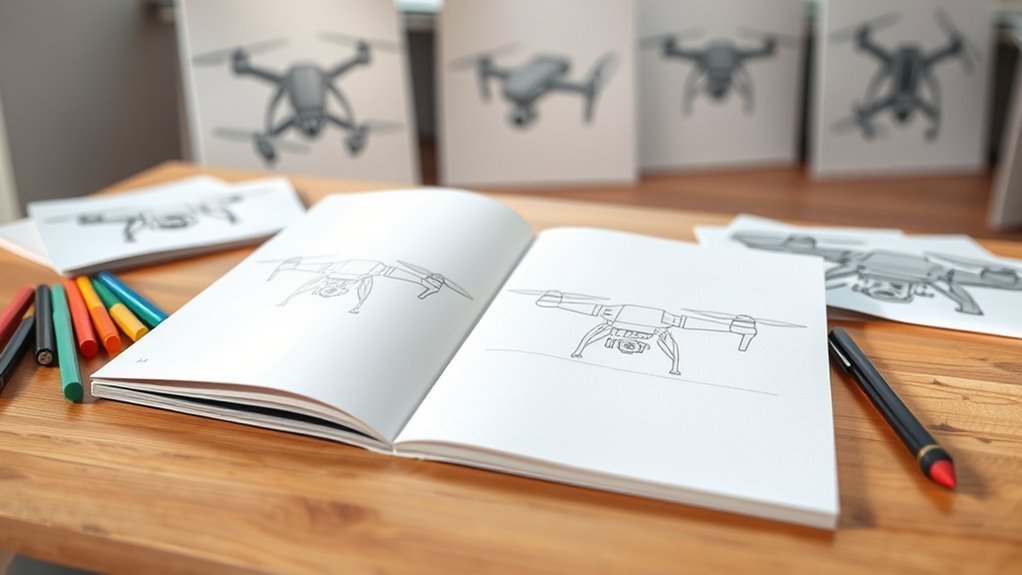
As you begin to draw your drone, it’s helpful to start with basic shapes to establish its overall structure. Begin by sketching a rectangle for the body, as this will anchor your design. Next, add circles for the rotors. These basic shapes not only simplify the drawing process but also give you a solid foundation to build upon. Use light strokes so you can easily adjust proportions as needed. Once you’ve got these shapes in place, you can refine and detail your drone using various drawing techniques. Remember, this is your creative space—don’t hesitate to experiment with sizes and angles. Embrace the freedom this approach offers, and you’ll be well on your way to creating an impressive drone illustration!
Define the Drone’s Body
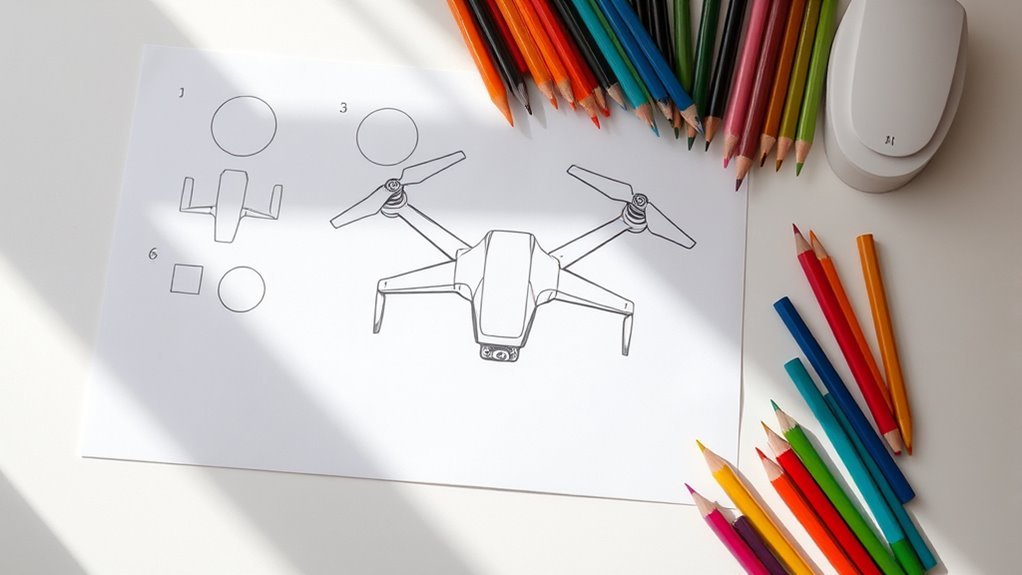
Defining the drone’s body is an essential step in bringing your illustration to life. Start by choosing a drone type; whether it’s a quadcopter or a fixed-wing model, each has unique features. Focus on the body shape, which often resembles a rectangle or an oval. Consider the drone’s functions, like photography or racing, as these will influence your design choices. Additionally, understanding the drone’s advanced camera capabilities can inspire your design to better suit its intended use. Drones like the DJI Air 3 feature dual cameras that offer versatile perspectives and enhance your artistic interpretation.
| Drone Type | Body Shape | Functions |
|---|---|---|
| Quadcopter | Rectangular | Aerial Photography |
| Fixed-Wing | Oval | Long-Distance Flight |
| Racing Drone | Compact | Speed and Agility |
| Hexacopter | Sturdy | Stability in Wind |
Keep practicing; with each line, you’re getting closer to your vision!
Add the Propellers
Now it’s time to add the propellers to your drone! Start by sketching their shape and design, making sure they’re evenly placed on the drone frame. Don’t forget to add details that suggest motion, bringing your drawing to life!
Propeller Shape and Design
When you’re ready to add the propellers to your drone design, it’s important to evaluate their shape and design carefully, as they play a crucial role in flight performance. Different propeller types can greatly impact your drone’s aerodynamic efficiency, so choose wisely. Here are a few key considerations:
- Shape: Opt for a design with balanced blade width and length for ideal lift.
- Material: Lightweight materials like carbon fiber or plastic enhance performance.
- Pitch: A higher pitch can provide more speed, while a lower pitch offers better control.
Placement on Drone Frame
Proper placement of the propellers on your drone frame is essential for ideal flight stability and performance. To achieve that perfect balance, consider using these placement techniques:
| Propeller Position | Description |
|---|---|
| Front Left | Should face forward and upward for lift. |
| Front Right | Opposite of front left, providing counterbalance. |
| Back Left | Acts as a stabilizer for the front propellers. |
| Back Right | Complements back left, ensuring smooth flight. |
Adding Details and Motion
Once you’ve secured the propellers in their designated positions, it’s time to add details that bring your drone to life. Enhancing your drone’s aesthetics will make it stand out, while also conveying a sense of motion dynamics.
- Draw sleek lines on the propellers to show movement.
- Add small details like vents or lights to the drone body.
- Shade the propellers to give them depth and realism.
These elements not only enhance the overall look but also suggest the drone’s speed and agility. Remember, each detail contributes to the freedom of flight you’re capturing on paper. Embrace your creativity, and let your imagination take flight as you perfect your drone drawing!
Sketch the Details
Now it’s time to sketch the details that make your drone come alive. Start by adding intricate features to the propellers and outlining the camera to give it a realistic look. These small touches will enhance your drawing and showcase your creativity!
Add Propeller Details
To add realistic propeller details to your drone sketch, start by drawing the blades with a slight curvature at the ends. This shape not only enhances the aesthetic but also mimics propeller mechanics. Next, consider the materials used for propellers, as they can vary greatly. Think about these aspects:
- Blade Shape: Experiment with different lengths and curves for a dynamic look.
- Material Texture: Indicate the material by adding subtle lines for a metallic or plastic feel.
- Rotation Effect: Draw motion lines around the blades to show they’re spinning.
Outline Camera Features
A well-defined camera is essential for your drone’s functionality and aesthetics. Start by sketching the camera body, ensuring it fits snugly within the drone’s design. Next, define the lens types; you might want to include a wide-angle lens for capturing expansive landscapes or a zoom lens for more detailed shots. Don’t forget to outline the camera angles—tilted slightly downward can create dynamic perspectives. Incorporate small details like buttons and a viewfinder to make it more realistic. Remember, the camera’s position can influence the drone’s stability, so place it thoughtfully. By focusing on these features, you’ll enhance your drone’s look and functionality, giving it the freedom to capture stunning visuals from the sky. Happy drawing!
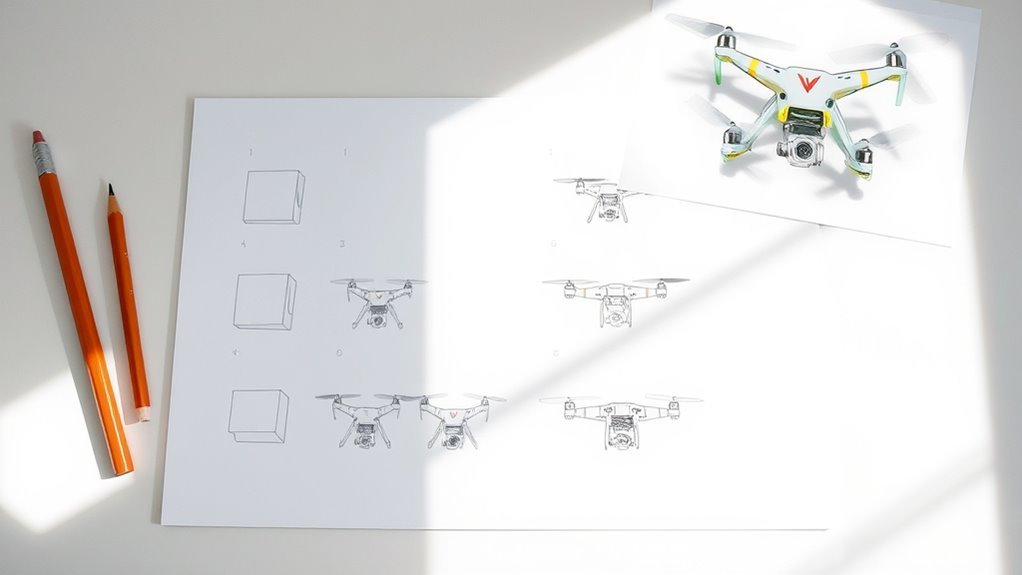
Refine Your Drawing
As you begin refining your drawing, focus on enhancing the details that will bring your drone to life. Use various refinement techniques to improve its overall appearance. Don’t hesitate to experiment with different drawing styles; this is your chance to express your creativity!
- Add intricate designs to the drone’s body for a more dynamic look.
- Pay attention to the propeller blades; their shape can convey motion.
- Incorporate small elements like lights or camera lenses for realism.
Add Shading and Texture
While you might think shading is just a simple addition, it can dramatically transform your drone drawing by adding depth and realism. Start by choosing your light source; this’ll guide your shading techniques. Use soft pencil strokes to create gradual shifts from light to dark, enhancing the drone’s contours. Focus on areas under the propellers and around the body for shadow effects.
Next, employ texture effects to mimic materials like metal or plastic. You can do this by varying your stroke patterns—short, quick lines for a sleek finish or cross-hatching for a rougher look. Don’t be afraid to experiment! With practice, your shading and texture will bring your drone to life, making it look dynamic and three-dimensional.
Color Your Drone
Choosing the right colors for your drone can elevate your drawing to the next level. Think about how color palettes can express your creativity and personality. Here are some tips to help you get started:
- Experiment with bold colors to make your drone pop.
- Use complementary shades to create depth and interest.
- Incorporate shading techniques to add realism.
Don’t be afraid to mix and match colors until you find what feels right for you. Consider how different colors can evoke specific emotions, like excitement or serenity. Remember, this is your chance to express yourself, so let your imagination soar. The more you practice with your color choices, the more confident you’ll become in your artistic journey. Happy coloring!
Final Touches and Presentation
Once you’ve finished coloring your drone, it’s time to focus on the final touches and how to present your masterpiece. Start with final adjustments—add highlights or shadows to give your drone depth and dimension. Consider outlining your drawing with a fine pen to make it pop.
For presentation techniques, think about how to showcase your work. You could frame it or place it on a colorful background to emphasize your design. Lighting is key, too; natural light can enhance the colors and details. Finally, don’t forget to share your creation! Whether it’s on social media or with friends, showing off your drone will inspire others and celebrate your artistic journey. Enjoy the freedom of sharing your creativity!
Frequently Asked Questions
What Type of Paper Is Best for Drawing a Drone?
For sketching techniques, you’ll want smooth, heavyweight paper that handles various mediums well. Consider using drawing paper or mixed media paper for versatility. Don’t hesitate to experiment with different paper types to find your favorite!
Can I Use Digital Tools to Draw a Drone?
Absolutely, you can use digital tools to draw a drone! Graphic software offers flexibility and precision, making it easier to experiment with designs. Just jump in and let your creativity flow—there are no limits!
How Do I Improve My Drawing Skills Over Time?
How can you truly elevate your drawing skills? Focus on diverse drawing techniques and consistent practice methods. Explore different styles and subjects, letting your creativity flow freely—over time, you’ll notice remarkable improvements in your artwork!
What Are Some Common Mistakes to Avoid When Drawing?
When drawing, avoid common mistakes like neglecting proportional scaling, which can distort your work, and inconsistent line thickness, which can confuse viewers. Stay aware, practice regularly, and let your creativity flow freely for better results!
Where Can I Find Inspiration for Drone Designs?
You can find creative inspiration for drone design by exploring online platforms like Pinterest or Behance, checking out tech blogs, and observing nature. Let your imagination soar—combine ideas to create something uniquely yours!
