
Building an FPV (First Person View) drone requires careful selection of components, precise assembly, and meticulous tuning to achieve optimal performance. This comprehensive guide will walk you through each crucial step in creating your own FPV drone, whether you’re a novice eager to learn or an experienced hobbyist looking to refine your skills.
Understanding FPV Drone Components

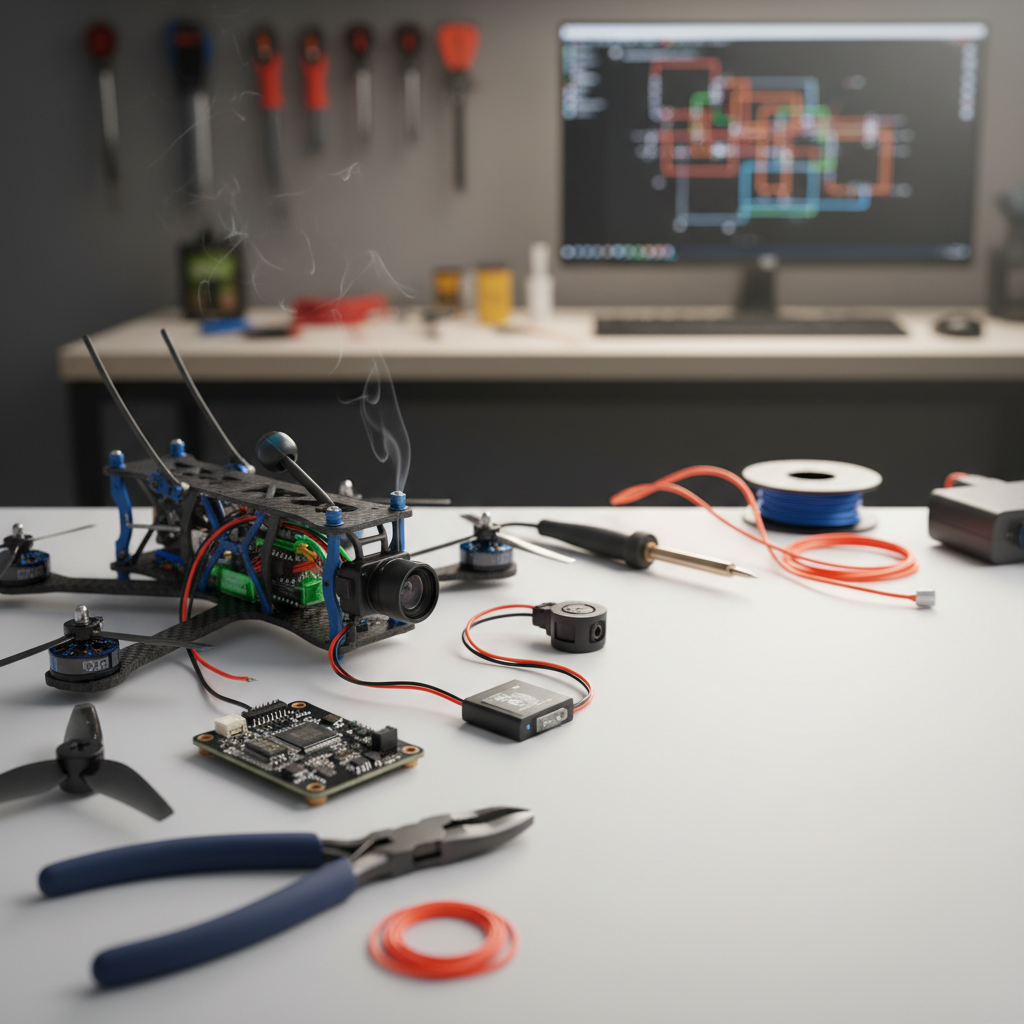
To successfully build an FPV drone, it’s essential to understand the core components involved. The primary elements include the frame, motors, flight controller, camera, and other associated electronics like the battery and video transmitter.
1. Frame: The structural backbone of your drone, available in various sizes and materials, such as carbon fiber or plastic.
2. Motors: Responsible for propelling the drone, they come in different sizes and power ratings.
3. Flight Controller: The brain of the drone, translating pilot commands into motor movements.
4. Camera: Captures the video feed, providing the FPV experience and usually mounted at the front of the drone.
Compatibility among these components is crucial for a smooth build. For instance, the motors must match the frame size and be suitable for the weight of the drone, while the flight controller should support the type of motors you select. A well-matched system ensures efficient performance and enhances your flying experience.
Choosing Your Frame and Motors

Selecting the right frame and motors is fundamental for your FPV drone’s performance.
– Frame Selection: Consider factors like size (measured in millimeters), which will affect agility and flight characteristics. A smaller frame (e.g., 250mm) is often more agile and suitable for racing, while larger frames (e.g., 550mm) offer stability for aerial photography. The weight of the frame—lighter frames generally improve flight time and responsiveness—should also be factored in, along with the material. Carbon fiber is durable and lightweight, while plastic frames might be more affordable but may lack structural integrity.
– Motor Specifications: Understanding motor specifications is crucial. The KV rating indicates the motor’s RPM per volt—higher KV motors can spin faster but may offer less torque, while lower KV motors provide better thrust at lower speeds. A good rule of thumb is to match the motor’s thrust to at least twice the weight of your drone for optimal performance. For example, if your drone weighs 500 grams, aim for motors that can provide a combined thrust of at least 1000 grams.
Selecting the Right Flight Controller
The flight controller is a pivotal component that governs the drone’s stability and responsiveness.
– Functionality: It processes input from the pilot, sensors, and GPS (if available), enabling the drone to fly smoothly and accurately. Features like altitude hold, GPS navigation, and telemetry can significantly enhance your flying experience.
– Key Features to Consider: When choosing a flight controller, look for essential features such as GPS support, an On-Screen Display (OSD) for real-time telemetry, and compatibility with popular firmware like Betaflight or INAV. These features allow for advanced flight modes and better overall control, catering to both beginners and experienced pilots.
Assembling Your FPV Drone
The assembly process involves several steps that require attention to detail and precision.
1. Attaching the Frame: Begin by securely mounting the arms to the main body of the frame. Ensure that all screws are tight to avoid any structural failures during flight.
2. Installing Motors: Attach the motors to the designated mounts on the frame, ensuring they are oriented correctly for propeller rotation.
3. Wiring: Connect the motors to the flight controller using appropriate wiring. For reliable connections, consider using soldering techniques rather than connectors to minimize resistance and enhance durability. Use heat shrink tubing to protect soldered joints from damage.
4. Securing Components: Make sure that all components, including the flight controller, video transmitter, and camera, are securely mounted and properly wired to avoid disconnection during flight. Use zip ties or velcro to manage wiring and prevent entanglement.
Configuring Your FPV Equipment
Setting up the FPV equipment is essential for a seamless flying experience.
1. Video Transmitter and Receiver: Choose a video transmitter that is compatible with your camera and has adjustable power settings to comply with local regulations. Connect it to the camera and flight controller, ensuring the wiring is secure.
2. Camera Settings: Adjust camera settings to optimize video quality. Many FPV cameras allow for configuration of parameters like exposure, white balance, and lens angle. A wide-angle lens (typically 120-170 degrees) can enhance the FPV experience by providing a broader perspective.
Tuning and Testing Your Drone
Tuning your drone is crucial for achieving stable flight characteristics and responsiveness.
1. Flight Tuning: Familiarize yourself with PID (Proportional, Integral, Derivative) settings, which govern how the drone responds to control inputs. Properly tuning these settings allows for smoother flight and better handling. Start with default settings and make gradual adjustments based on flight behavior during test flights.
2. Conducting Test Flights: Begin with short, low-altitude test flights to assess stability and responsiveness. Make incremental adjustments to PID settings based on your observations. Utilize flight logs and telemetry data if available, to analyze performance and make informed tuning decisions.
Safety Considerations and Regulations
Flying responsibly is paramount in the world of FPV drones.
1. Understanding Regulations: Before taking to the skies, familiarize yourself with local laws and regulations regarding drone usage. This may include altitude restrictions, no-fly zones, and requirements for registration.
2. Safety Gear and Pre-Flight Checks: Always wear safety goggles during flights to protect your eyes from potential accidents. Conduct pre-flight checks for battery levels, propeller integrity, and signal strength to mitigate risks and ensure a safe flying experience.
In conclusion, building an FPV drone is a rewarding endeavor that not only enhances your flying capabilities but also deepens your understanding of drone technology. By following the steps outlined in this guide—selecting compatible components, carefully assembling your drone, configuring your FPV equipment, and ensuring safety—you can create a customized drone tailored to your needs. Embrace the process, and enjoy the exhilarating journey of building and flying your FPV drone!
Frequently Asked Questions
What components do I need to build an FPV drone?
To build an FPV drone, you’ll need several key components: a frame, motors, electronic speed controllers (ESCs), a flight controller, a radio receiver, a battery, and FPV gear which includes a camera and video transmitter. Additionally, you may want to include propellers and various connectors and cables. Choosing high-quality components that are compatible with each other is crucial for optimal performance and reliability.
How do I choose the right flight controller for my FPV drone?
When selecting a flight controller for your FPV drone, consider factors such as compatibility with your chosen frame, the type of flying you intend to do (racing, freestyle, or cinematic), and the features you need (like GPS integration or advanced stabilization). Popular options include Betaflight and Kiss flight controllers, which offer a balance of performance and user-friendly configuration. Researching reviews and user experiences can also help you make an informed choice.
Why is tuning important for an FPV drone, and how do I do it?
Tuning is essential for ensuring your FPV drone flies smoothly and responds accurately to your control inputs. Proper tuning reduces vibrations and enhances flight stability, which is crucial for capturing clear FPV footage. You can tune your drone using software like Betaflight Configurator, adjusting PID values and rates based on your flying style and preferences. Start with recommended settings and iteratively adjust them while testing your drone in flight.
What are the best practices for assembling an FPV drone?
To assemble your FPV drone effectively, start by carefully reading the manuals for each component and organizing your workspace. Begin with the frame, securing motors and ESCs securely, followed by installing the flight controller and wiring everything neatly to avoid interference. Finally, double-check your connections, use zip ties for cable management, and ensure components are well-protected against potential crashes. Following these best practices will lead to a more reliable build.
Which FPV drone kits are best for beginners?
For beginners looking to build an FPV drone, consider all-in-one kits that include essential components like the frame, motors, and flight controller, such as the Eachine Wizard X220 or the Holybro Kopis Mini. These kits often come with instructional guides that simplify the assembly process. Additionally, kits with support for popular software like Betaflight will help new pilots learn about tuning and configuration, providing a solid foundation for future builds.
References
- https://en.wikipedia.org/wiki/FPV_drone
- https://www.arduino.cc/en/Tutorial/BuiltInExamples/Drone
- https://www.nasa.gov/feature/nasa-s-drone-research
- https://www.aaai.org/ojs/index.php/aimagazine/article/view/2566
- https://www.techopedia.com/definition/33863/first-person-view-fpv-drone
- https://www.theguardian.com/technology/2020/feb/18/how-drones-are-changing-the-way-we-experience-the-world
