
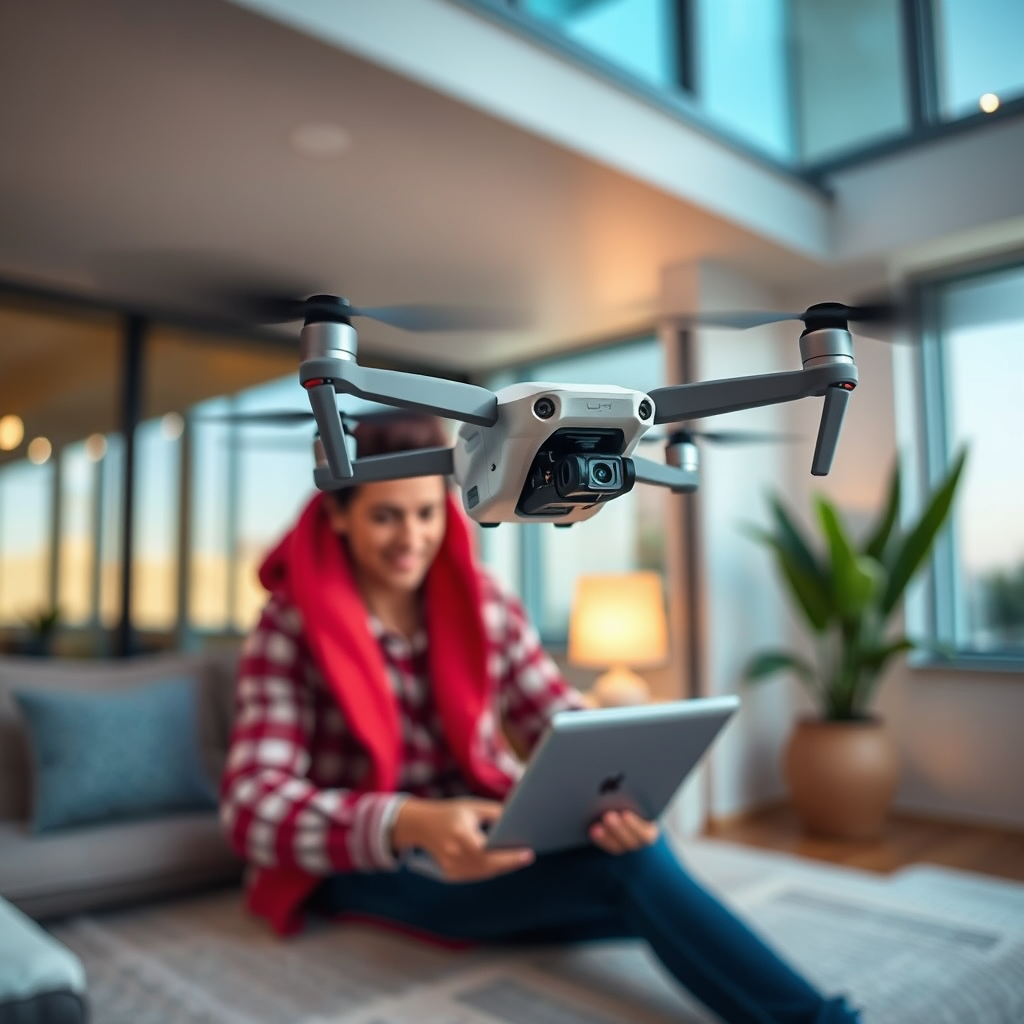
Bracketing photos with a DJI drone is not only possible but also an effective way to enhance your aerial photography. This technique allows you to capture a series of images at different exposures, ensuring that you get the best shot regardless of varying lighting conditions. By utilizing bracketing, photographers can create stunning high dynamic range (HDR) images, which combine the best elements of each exposure to produce a final image that embodies exceptional detail and vibrancy. In this article, we’ll explore how to use bracketing with your DJI drone and the benefits it offers for your photography.
Understanding Bracketing in Photography
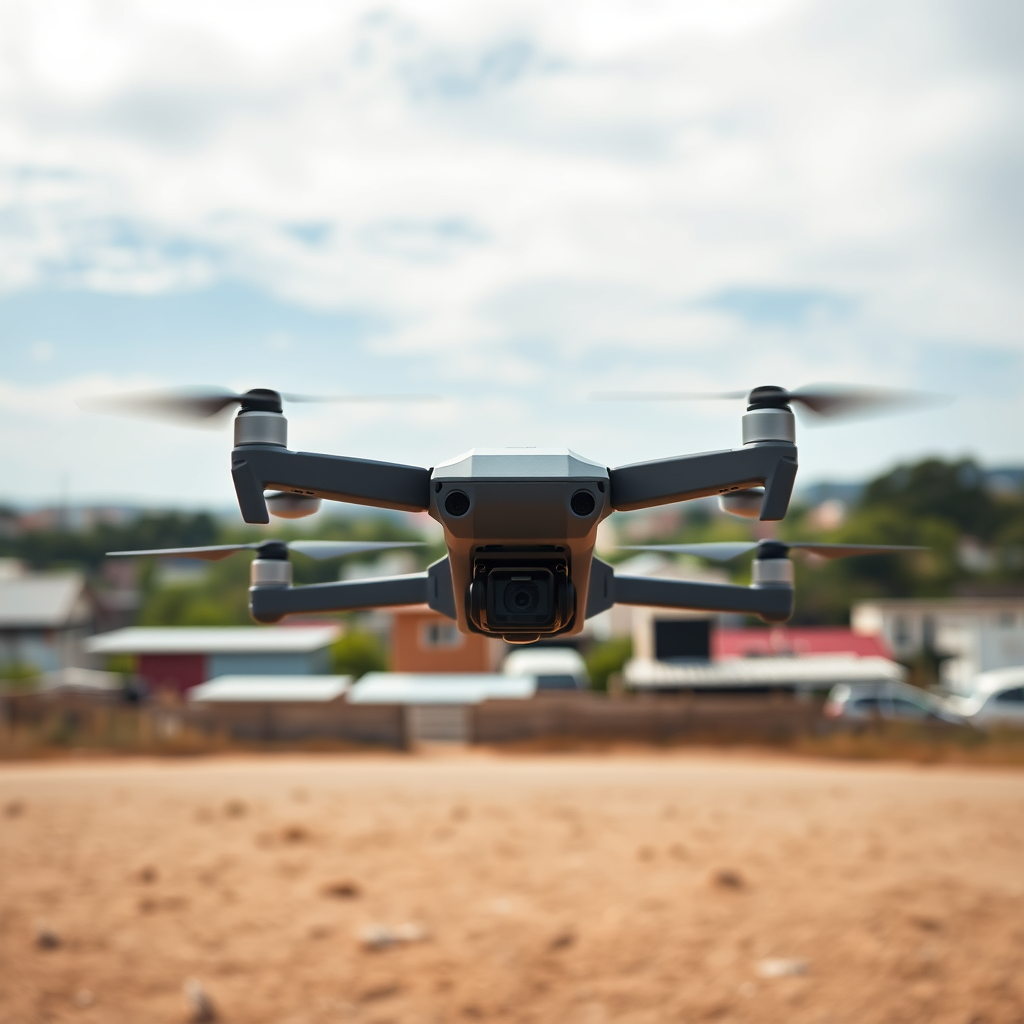
Bracketing is a photography technique that involves taking multiple shots of the same scene, each shot at different exposure settings. This method is particularly useful in situations where lighting conditions are inconsistent or challenging, such as during sunrise or sunset, or in high-contrast environments where shadows and highlights coexist. By capturing several images—typically one exposed correctly, one underexposed, and one overexposed—photographers can ensure that they have a comprehensive representation of the scene.
This technique is commonly employed to create high dynamic range (HDR) images. HDR photography combines these bracketed images into a single photograph that displays a broader spectrum of light and color than what a standard camera can capture in one exposure. The result is a more dynamic and detailed image that retains information in both the highlights and shadows, making it ideal for landscapes and architectural photography.
How to Set Up Bracketing on a DJI Drone
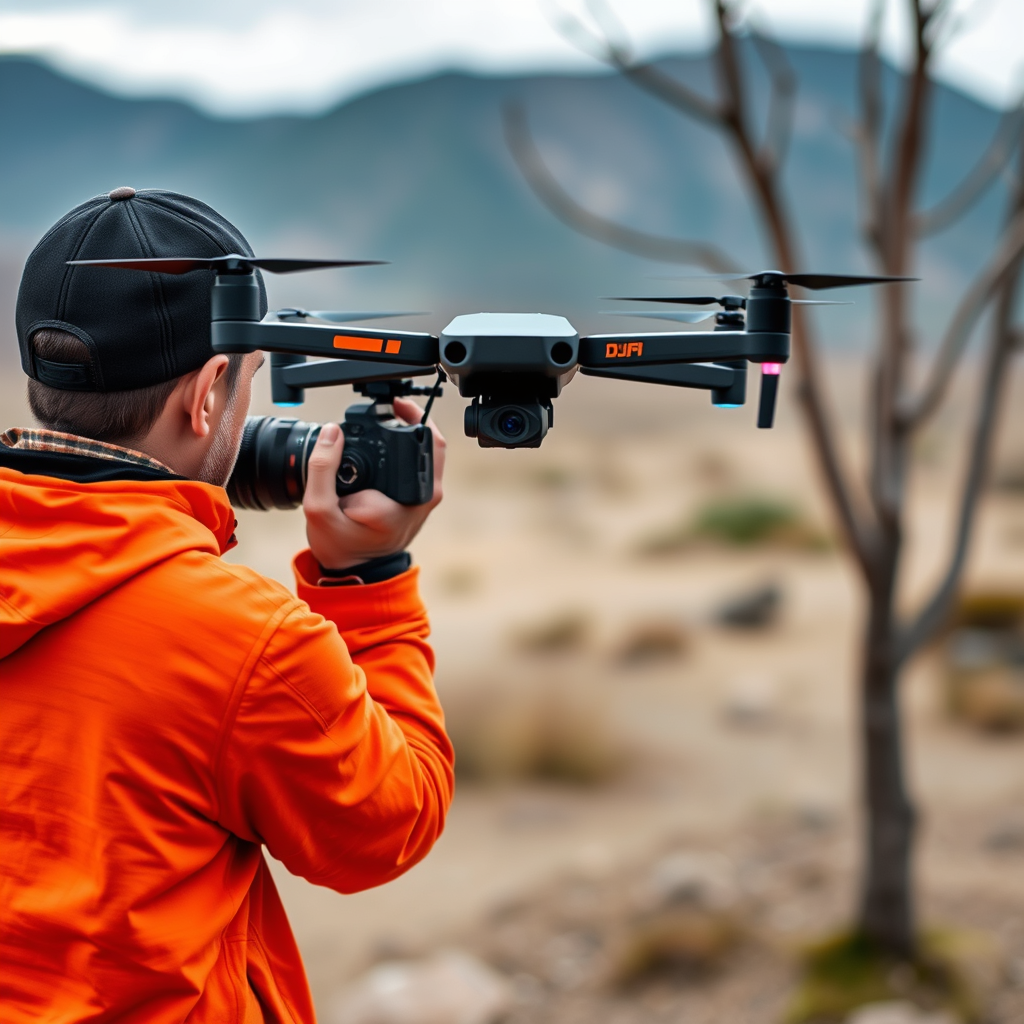
Setting up bracketing on a DJI drone is a straightforward process that can enhance your shooting experience. First, ensure that you have the latest version of the DJI app installed on your device, as updates often include new features and improvements.
1. Access Camera Settings: Open the DJI app and connect to your drone. Navigate to the camera settings where you will find options for shooting modes.
2. Select Bracketing Mode: Look for the bracketing option, which may be labeled as “AEB” (Auto Exposure Bracketing). This feature allows you to set the number of exposures you want to capture—commonly three or five.
3. Adjust Exposure Settings: You can customize the exposure difference between each shot. A common setting involves varying the exposure by one or two stops, depending on the lighting conditions and the desired effect.
4. Test and Adjust: Before capturing important shots, it’s wise to conduct test runs in varying light conditions to determine the ideal settings for your specific situation.
By following these steps, you can effectively set your DJI drone to capture bracketed images, ensuring you are prepared for any lighting scenario.
Benefits of Using Bracketing with DJI Drones
The use of bracketing with DJI drones offers numerous benefits that can significantly enhance your photography:
1. Wider Range of Light and Detail: By capturing multiple exposures, you can achieve a more balanced representation of light within your images. This is especially beneficial in scenes with both bright highlights and deep shadows, allowing for a richer and more dynamic final photograph.
2. Overcoming Challenging Lighting Conditions: Drones often operate in environments where lighting can change rapidly due to various factors such as cloud cover or the time of day. Bracketing enables photographers to counteract these changes, ensuring that no detail is lost in either shadows or highlights.
3. Creative Freedom in Post-Processing: Bracketing provides photographers with the flexibility to create stunning HDR images in post-processing. This ability to merge multiple exposures gives you creative control over the final look of your photograph, allowing for adjustments in contrast, saturation, and clarity.
4. Professional Quality Imagery: Utilizing bracketing can elevate the quality of your images, making them suitable for professional portfolios, marketing materials, or personal projects. The resulting images often have a polished, high-end feel that can impress clients and audiences alike.
Recommended Settings for Bracketing
When setting up your drone for bracketing, selecting the right settings is crucial to achieving the best results:
1. Shutter Speed: Choose a shutter speed that balances movement and stability. A shutter speed that is too slow may introduce motion blur, especially with moving subjects or windy conditions. A speed of 1/1000 to 1/500 seconds is often a good starting point for aerial shots.
2. ISO Settings: Keep the ISO as low as possible to minimize noise in your images. In well-lit conditions, an ISO of 100 or 200 is ideal. If shooting in lower light, gradually increase the ISO while being mindful of potential noise.
3. Image Format: Capture images in RAW format if possible. RAW files contain more data than JPEGs, allowing for greater flexibility during post-processing, particularly when merging bracketed images.
4. White Balance: Set a consistent white balance to avoid variations between images. Using a fixed white balance setting (rather than auto) ensures that the colors in your bracketed images match, making post-processing smoother.
By following these recommended settings, you can maximize the quality of your bracketed images.
Post-Processing Bracketed Images
Once you have captured your bracketed images, the next step is post-processing, where you can merge these images into a stunning HDR photograph:
1. Choose Software: Use photo editing software that supports HDR merging, such as Adobe Lightroom, Photoshop, or specialized HDR software like Aurora HDR.
2. Import Images: Load your bracketed images into the software of your choice. Many programs have specific HDR capabilities that streamline the merging process.
3. Merge the Images: Utilize the HDR merging feature, which will automatically align and blend the images to create a single photograph that showcases the best elements of each exposure.
4. Adjust Settings: After merging, fine-tune your image by adjusting contrast, brightness, saturation, and sharpness. It’s also beneficial to apply noise reduction if necessary, especially if higher ISO settings were used.
5. Export Final Image: Once satisfied with the adjustments, export the final image in your desired format for sharing or printing.
By mastering post-processing techniques, you can elevate your bracketed images to new heights, resulting in breathtaking aerial photographs.
Common Mistakes to Avoid
While bracketing can greatly enhance your photography, several common pitfalls can undermine the effectiveness of this technique:
1. Excessive Exposure Differences: Avoid setting exposure differences that are too extreme, as this can lead to unnatural results in your final image. A difference of one to two stops is generally sufficient for most scenes.
2. Drone Stability: Ensure your drone is stable during shooting to prevent motion blur. Utilizing GPS and stable flight modes can help maintain a steady position while capturing multiple exposures.
3. Neglecting Composition: While focusing on exposure settings, don’t forget about composition. Ensure that the framing of your shot remains consistent across all bracketed images for a seamless final product.
4. Skipping the Test Shots: Always conduct test shots before important captures, especially in changing light conditions. This practice allows you to fine-tune your settings and avoid mistakes that could compromise your images.
By being aware of these common mistakes, you can improve your bracketing technique and produce superior aerial photographs.
By understanding and implementing bracketing with your DJI drone, you can significantly improve your aerial photography results. This technique offers a way to capture stunning images that reflect true-to-life colors and details. If you haven’t tried bracketing yet, consider experimenting with it in your next flight to see the difference it can make! Embracing this method not only enhances your skills as a photographer but also enriches the visual narratives you create through your aerial imagery.
Frequently Asked Questions
What is bracketing in photography and how can it be used with a DJI drone?
Bracketing in photography refers to the technique of taking multiple shots of the same scene at different exposure levels. When using a DJI drone, bracketing allows you to capture a range of exposures, which can be especially useful in high-contrast environments. This technique helps in creating a balanced image or in post-processing to enhance details in shadows and highlights.
How do I set up bracketing on my DJI drone?
To set up bracketing on your DJI drone, first ensure that your drone’s firmware is up to date. Then, access the camera settings through the DJI app. Look for the ‘AEB’ (Auto Exposure Bracketing) option, where you can select the number of shots and the exposure difference between them. Once configured, the drone will automatically capture the set number of photos in quick succession, allowing you to choose the best exposure later.
Why should I use bracketing when flying a DJI drone?
Using bracketing with your DJI drone can significantly enhance your photography by ensuring that you capture the best possible exposure in challenging lighting conditions. This is particularly beneficial for landscape and architectural photography, where light can vary greatly across a scene. By having multiple exposures, you can merge them in post-processing for a more dynamic range and detailed images.
What are the best scenarios to use bracketing with a DJI drone?
The best scenarios for using bracketing with a DJI drone include sunrise or sunset shots, where lighting can shift rapidly and create high contrast; landscapes with varied terrain and lighting; and urban environments with bright lights and shadows. In these situations, bracketing can help you capture the full range of tones, making your images more visually appealing and detailed.
Which DJI drones support bracketing features?
Many DJI drones support bracketing features, including popular models such as the DJI Mavic Air 2, DJI Phantom 4 Pro, and DJI Mini 2. To confirm if your specific model supports bracketing, check the user manual or the DJI app settings. Ensuring your drone model includes this feature can elevate your photography by allowing for more creative control over exposure.
References
- Aerial photography
- https://www.dji.com/support/faq/what-is-bracketing
- https://www.sciencedirect.com/science/article/pii/S2212017315000243
- https://www.ncbi.nlm.nih.gov/pmc/articles/PMC7396581/
- https://www.smithsonianmag.com/innovation/how-drones-are-changing-photography-180972688/
- https://www.techrepublic.com/article/what-is-drone-bracketing-and-how-to-use-it/
- https://www.theguardian.com/technology/2021/nov/29/drones-photography-technology-innovation
- https://www.ustream.tv/channel/photography-and-drones-education
