
To draw a murder drone, start by gathering your materials like pencils and vibrant markers. Sketch the basic shape with light lines, capturing its sharp, angular structure. Outline the body, emphasizing its menacing features like stout proportions and jagged wings. Add mechanical details, like exposed wiring and articulated limbs for a predatory look. Refine your lines, then use shading techniques to bring it to life. Stick around to uncover the secrets of designing its deadly weapons next!
Gather Your Materials
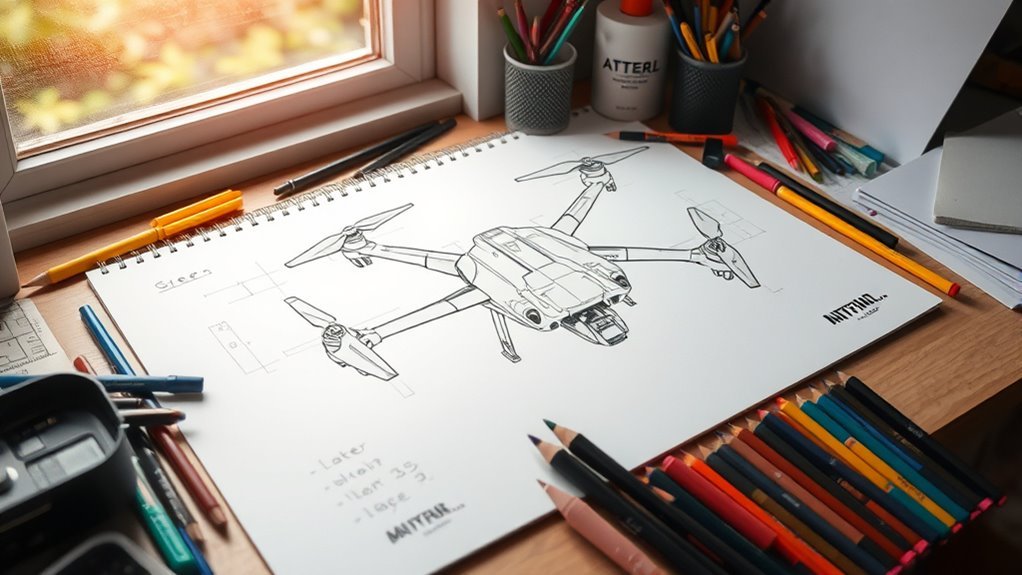
Before you plunge into drawing your murder drone, it’s essential to gather your materials. Picture a vibrant creative workspace, where inspiration flows like a river. Grab an array of drawing supplies—pencils in varying hardness, fine-tipped pens for those intricate details, and vibrant markers that scream for attention. Don’t forget a sketchbook or quality paper, ready to capture your wild visions. Arrange your tools within arm’s reach, creating an energized atmosphere that ignites your imagination. Consider adding a splash of color with colored pencils or pastels to enhance your masterpiece. As you stand before your blank canvas, feel the freedom to release your creativity and let your ideas soar, transforming your thoughts into a stunning visual reality.
Sketch the Basic Shape
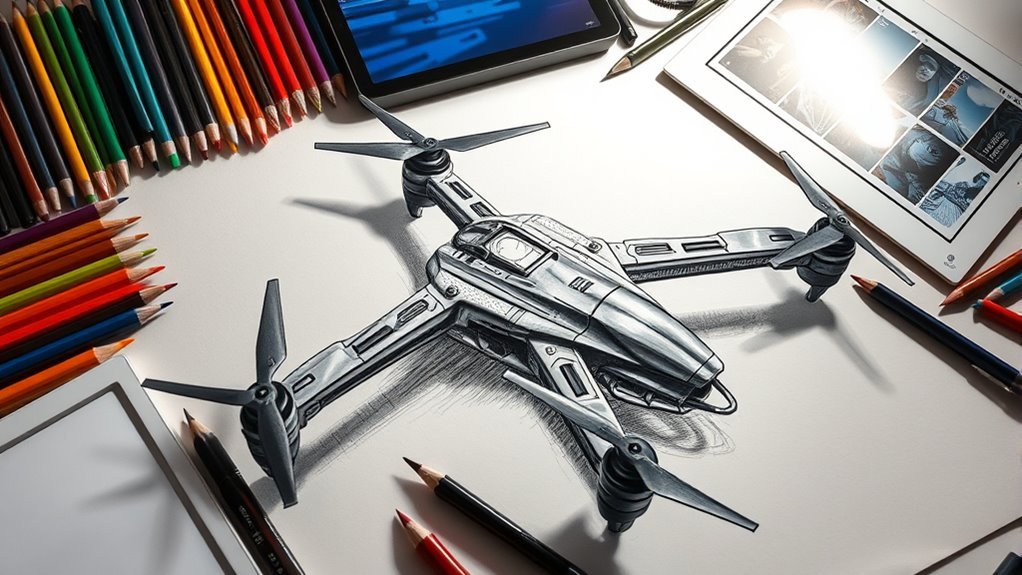
As you plunge into sketching the basic shape of your murder drone, imagine the sleek, menacing silhouette that will come to life on your page. Start with your initial sketches, focusing on the basic proportions to capture its sinister essence. Use light lines to define the overall form.
Dive into the creation of your murder drone, capturing its sleek and sinister silhouette with initial sketches and light lines.
- Visualize its sharp, angular body.
- Consider the placement of the wings—sleek and deadly.
- Think about the cockpit, giving it a fierce, predatory look.
- Outline the legs, sturdy yet agile.
- Don’t forget the thrusters, ready to propel it into action.
Outline the Body and Features
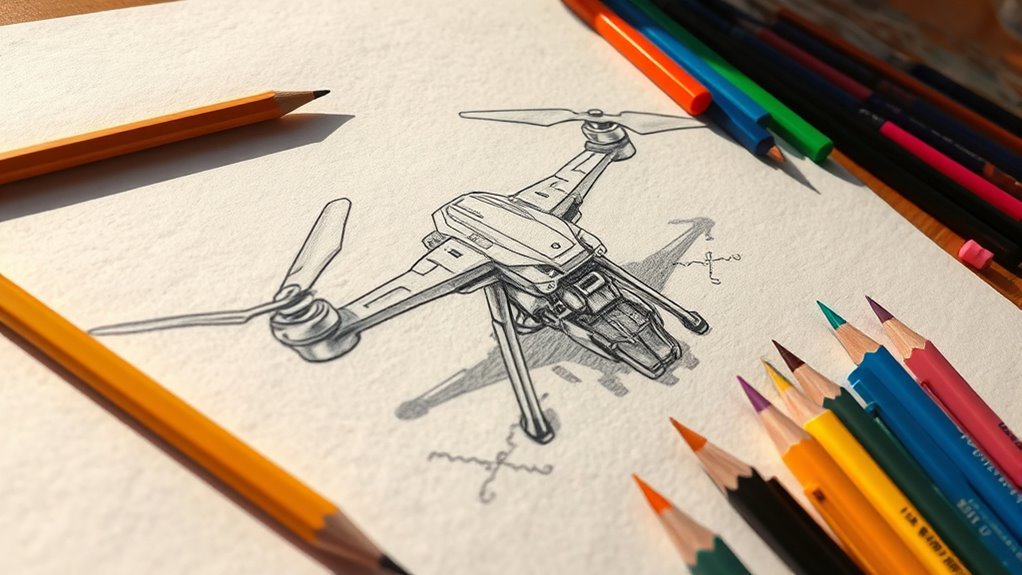
Once you’ve established the basic shape, it’s time to refine the outline of your murder drone, ensuring each feature enhances its menacing aura. Focus on the body proportions: make the torso stout and robust, suggesting power, while the limbs should be sleek yet intimidating. Highlight the angular edges of the wings, giving them a razor-like appearance. As you sketch, emphasize the feature highlights—sharp eyes that seem to pierce through the darkness, and jagged vents that hint at the drone’s lethal capabilities. Remember, every curve and line should evoke a sense of dread. This isn’t just a machine; it’s a harbinger of chaos, so let its outline reflect that ominous presence you want it to embody.
Add Mechanical Details
With the outline of your murder drone solidified, it’s time to infuse it with mechanical details that bring its sinister nature to life. These elements will enhance its menacing presence and showcase its advanced design. Consider adding the following mechanical components:Infuse your murder drone with sinister mechanical details to enhance its menacing presence and showcase advanced design.
- Exposed wiring that hints at its raw, chaotic energy.
- Gears and pistons visible in the joints, emphasizing its robotic nature.
- Ventilation grilles that suggest powerful engines lurking beneath.
- LED indicators that pulse ominously, hinting at its readiness for action.
- Articulating limbs that give it a dynamic, predatory posture.
Design the Drone’s Weapons
To truly embody the lethal essence of your murder drone, designing its weapons is essential, as these instruments of destruction will define its character and functionality. Picture sleek plasma cannons mounted on its sides, ready to release a fiery barrage. Imagine razor-sharp blades that can slice through targets with surgical precision. You might want to include explosive missiles for long-range devastation or an electrifying stun gun for incapacitating foes in stealthy attack modes. Think about dual weapon types—like combining a rapid-fire machine gun with a devastating rocket launcher. Each choice shapes your drone’s persona, giving it the power to strike fear into the hearts of its adversaries while maintaining the freedom to choose its method of annihilation.
Refine Your Lines
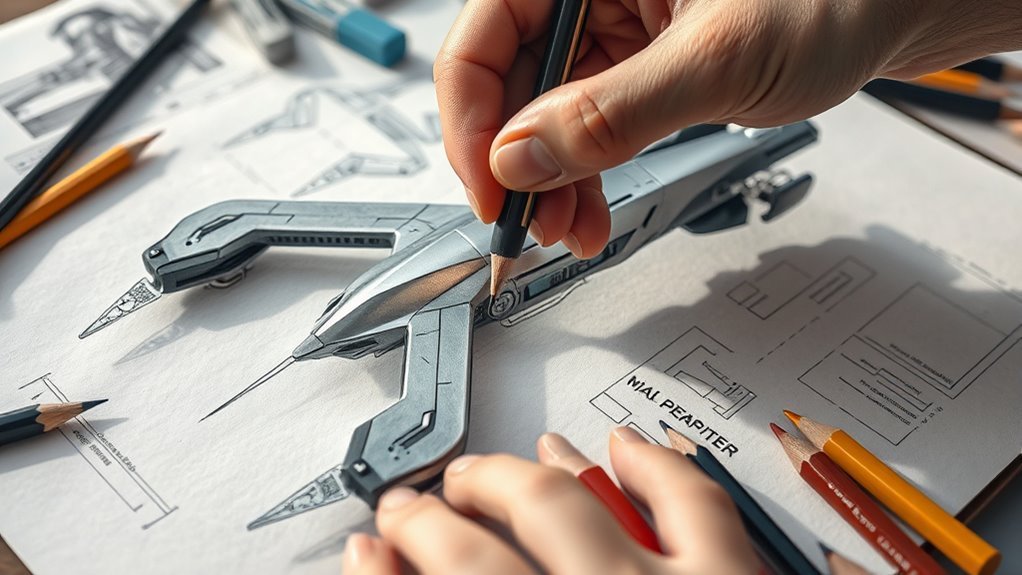
After establishing the menacing features of your murder drone’s weaponry, it’s time to focus on refining the lines that define its form. Line refinement is essential for creating that sleek, intimidating look. As you smooth out your initial sketches, aim for smooth shifts between curves and edges, giving your drone an aerodynamic feel.
Focus on refining your murder drone’s lines for a sleek, menacing aesthetic that embodies power and precision.
- Erase unnecessary guidelines for clarity.
- Emphasize sharp angles for a more aggressive silhouette.
- Use varying line weights to suggest depth and motion.
- Integrate flowing curves to enhance its menacing design.
- Guarantee symmetry for a balanced, powerful appearance.
With each stroke, you’re bringing your creation to life—one line at a time. Embrace the freedom of your artistic expression!
Add Shading and Texture
Now that your lines are sharp and defined, it’s time to breathe life into your murder drone with shading and texture. You’ll want to choose shading techniques that enhance its metallic body, creating a sense of depth and dimension, while adding texture details that mimic the wear and tear of battle. Imagine the glint of light reflecting off its surfaces, emphasizing every curve and edge, as you make your creation truly come alive.
Choosing Shading Techniques
As you explore the world of shading techniques, remember that the right choice can breathe life into your murder drone, transforming it from a simple sketch into a dynamic piece of art. Consider these shading styles to enhance your work:
- Cross-hatching: Layers of lines create depth and texture.
- Stippling: Tiny dots add a unique finish and can simulate light sources.
- Blending: Smooth changes between shades offer a polished look.
- Scribbling: Loose, energetic lines convey movement and chaos.
- Gradient: Soft shifts in tone can reflect your drone’s sleek design.
Select a technique that complements your vision, keeping in mind how your light sources interact with your drone. With the right shading, you’ll elevate your creation to new heights.
Adding Texture Details
While you might think of shading as merely filling in areas of your drawing, adding texture details can truly elevate your murder drone’s design, giving it an authentic, gritty feel. Start by exploring various texture techniques—think cross-hatching for metal surfaces or stippling for worn-out edges. Grab your detailing tools, like fine-tipped pens or textured brushes, to create depth and dimension. Visualize rust creeping along the drone’s body or scratches that tell stories of past battles. Use a light touch for softer textures, and press harder for those harsh, industrial vibes. Layering these techniques will not only enhance realism but also inject a sense of character into your drone, making it a striking presence in your artwork. Embrace the freedom to experiment!
Finalize Your Artwork
Once you’ve brought your murder drone to life with bold lines and vibrant colors, it’s time to add those finishing touches that will elevate your artwork to a whole new level. Consider these essential elements to refine your piece:
- Highlighting: Use white or lighter shades to create striking highlights on metallic surfaces.
- Shadows: Deepen your color choices with darker tones to add depth and dimension.
- Background Elements: Introduce a dynamic backdrop to enhance the drone’s atmosphere.
- Details: Incorporate small features like glowing lights or unique markings for personality.
- Final Varnish: A clear coat can protect your artwork and intensify those colors.
These finishing touches will breathe life into your murder drone, showcasing your creative freedom!
Frequently Asked Questions
What Type of Pencil Is Best for Sketching?
When it comes to sketching, think of your pencil as a wand of creativity. A range of graphite hardness, from soft to hard, enhances your sketching techniques, allowing you to capture every detail with freedom and finesse.
How Do I Create a Realistic Metallic Effect?
To create a realistic metallic effect, use shading techniques that mimic light reflections. Color blending with grays, silvers, and whites can add depth. Layering these tones gives your artwork a dynamic, shimmering quality that feels alive.
Can I Use Digital Tools for This Drawing?
Absolutely, you can use digital art tools! Drawing software like Procreate or Photoshop lets you experiment with layers, brushes, and effects, giving you the freedom to create stunning metallic textures and intricate details in your artwork.
What Reference Images Should I Look For?
Think of iconic sci-fi machines; search for dynamic angles of murder drones in action. Reference sources like concept art, fan illustrations, or even stills from your favorite dystopian films to ignite your creativity and freedom in drawing.
How Long Does It Typically Take to Complete?
Typically, drawing time varies; if you’re skilled, it might take just a couple of hours. However, if you’re still learning, don’t rush—embrace the freedom to explore your artistic journey, even if it takes longer.
