

You start building a drone by selecting lightweight, compatible components like carbon fiber frames, brushless motors, and efficient batteries. Next, you assemble the frame symmetrically, mount motors, and wire electronic speed controllers to the flight controller with precision. Then, connect the power system, attach and balance propellers correctly, and test motor functions for smooth operation. Finally, calibrate sensors and configure flight software before conducting thorough pre-flight checks. Understanding these fundamentals sets the stage for extensive drone assembly knowledge.
Selecting the Essential Drone Components
Before assembling your drone, you’ll need to carefully select the essential components that determine its performance and capabilities. Start by evaluating drone materials, prioritizing lightweight yet durable options like carbon fiber or reinforced plastics to maximize flight time and resilience. Each component—motors, ESCs, flight controllers, and batteries—must be chosen with compatibility in mind to guarantee seamless integration. Pay close attention to voltage ratings, connector types, and communication protocols to avoid mismatches that could impair functionality. Selecting components that align with your flight objectives grants you the freedom to customize power, agility, and endurance. By analyzing these technical parameters critically, you’ll build a drone optimized for your specific needs without compromising structural integrity or system efficiency.
Assembling the Frame and Mounting Motors
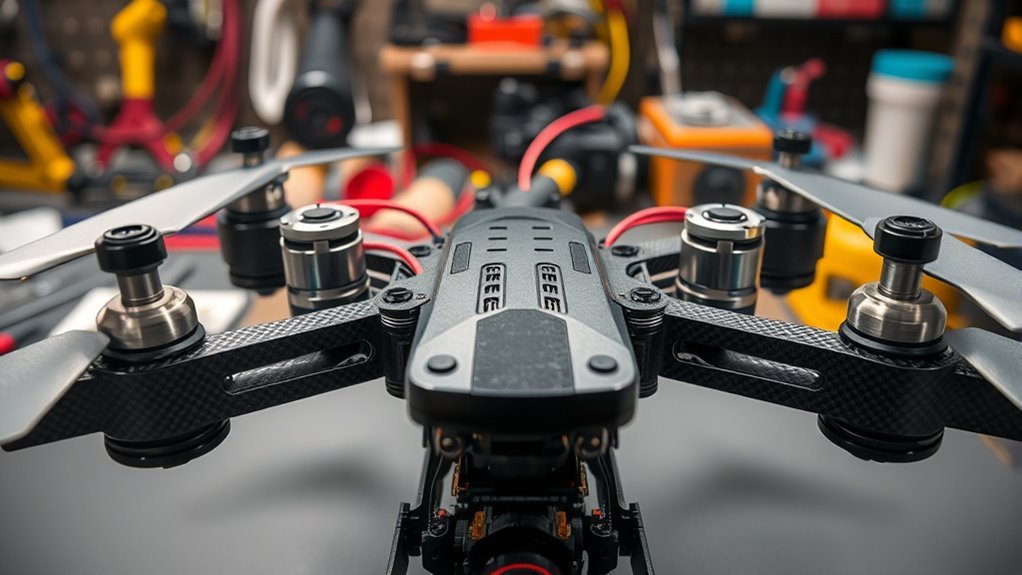
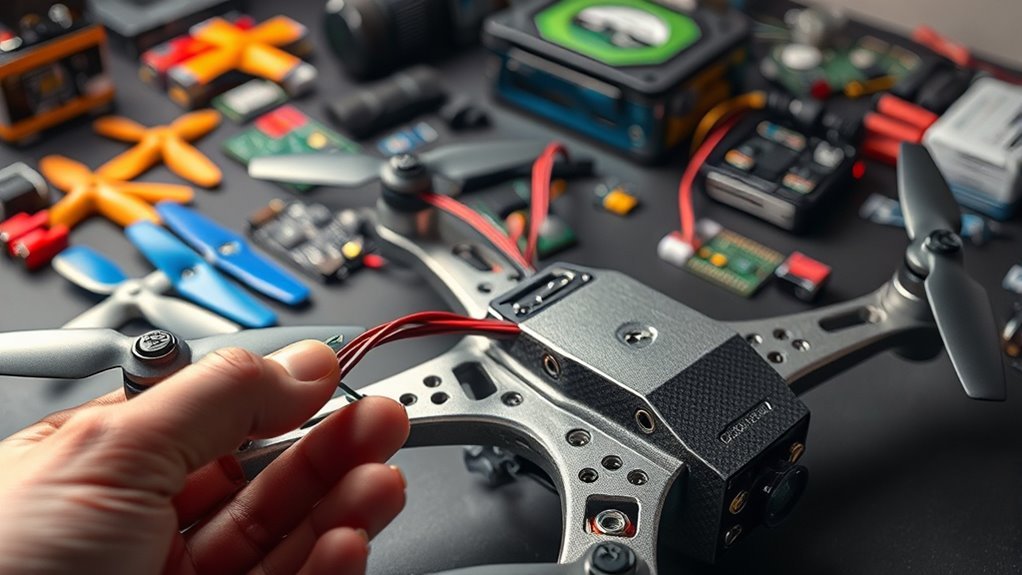
Once you’ve gathered all your components, assembling the frame requires exact alignment and secure fastening to maintain structural integrity under flight stresses. Start by selecting frame materials—carbon fiber is ideal for its lightweight strength, while aluminum offers durability but adds weight. Carefully attach each arm to the central body, ensuring symmetry to balance aerodynamic forces. When mounting motors, consider the motor types compatible with your frame and propellers; brushless motors are preferred for efficiency and power. Secure each motor firmly to the designated motor mounts using appropriate screws, avoiding overtightening that could damage the frame or motor casing. Precision in this stage directly influences flight stability and responsiveness, so double-check all fastenings and alignment before proceeding. This foundational assembly sets the stage for your drone’s best performance and freedom in the sky.
Installing the Electronic Speed Controllers and Flight Controller
Now that your frame and motors are ready, you’ll focus on wiring the Electronic Speed Controllers (ESCs) correctly to guarantee efficient power delivery and signal integrity. Next, configuring the flight controller precisely is critical for stable flight and responsiveness. Pay close attention to component calibration and firmware settings to optimize overall system performance.
ESC Wiring Basics
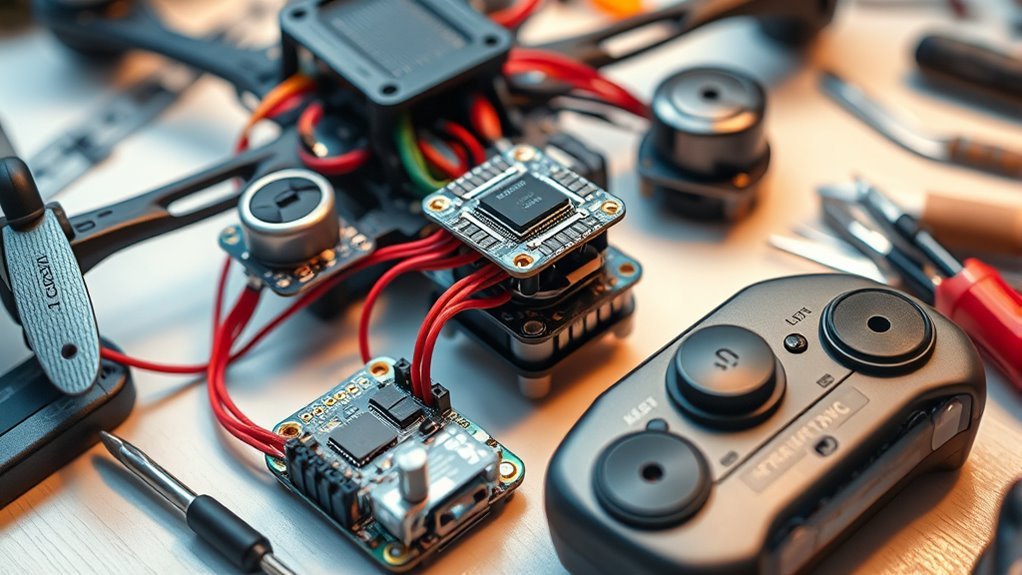
The installation of Electronic Speed Controllers (ESCs) and the flight controller requires careful attention to wiring to confirm reliable communication and power distribution. Different ESC types demand specific wiring approaches, so you’ll need to identify which model you’re working with. Proper ESC programming is essential before finalizing connections to verify your drone’s motors respond accurately.
Focus on these key wiring steps:
- Connect ESC power leads directly to the battery or power distribution board, confirming correct polarity and secure solder joints.
- Wire the signal cables from each ESC to the designated flight controller ports, matching motor order to avoid misalignment.
- Ground wires must be consistent and shared between ESCs and the flight controller to prevent electrical noise interference.
Mastering these basics gives you the freedom to customize and optimize your drone’s performance.
Flight Controller Setup
Although ESC wiring forms the foundation, properly installing the flight controller and ESCs requires meticulous alignment of connectors and secure mounting to confirm signal integrity and vibration resistance throughout operation. You’ll start by selecting the appropriate flight controller type—whether F4, F7, or newer iterations—based on your drone’s performance needs. Confirm ESC signal wires connect precisely to designated flight controller pads, avoiding any cross-connections that could induce noise or signal loss. Secure the flight controller with vibration-dampening mounts to preserve sensor accuracy. After hardware installation, you’ll load and configure the controller firmware compatible with your board, such as Betaflight or ArduPilot, enabling precise flight stabilization and responsiveness. This meticulous setup confirms your drone’s control system operates reliably, granting you the freedom to push flight boundaries safely and confidently.
Component Configuration Tips
Having secured the flight controller and guaranteed correct ESC wiring, focus shifts to fine-tuning component configurations for peak performance. Ensuring component compatibility is vital to avoid electrical conflicts and optimize drone performance. Here’s how to proceed:
- Verify ESC Calibration: Precisely calibrate each ESC to match your motors’ specifications, ensuring smooth throttle response and preventing motor desynchronization.
- Optimize Flight Controller Settings: Adjust PID values and sensor orientations according to your drone’s frame and motor setup to enhance stability and responsiveness.
- Secure Signal Routing: Double-check signal wires from ESCs to the flight controller to maintain clean, interference-free communication, essential for accurate control inputs.
Wiring the Power System and Connecting the Battery
You’ll need to choose a battery type that matches your drone’s voltage and capacity requirements to guarantee peak performance. Next, set up the power distribution system to efficiently deliver current to all components without causing voltage drops or overheating. Proper wiring and secure connections are critical to maintaining system reliability and safety during operation.
Battery Type Selection
Since the battery type directly influences your drone’s performance and flight duration, selecting the appropriate chemistry and capacity is critical when wiring the power system and connecting the battery. You’ll want to analyze battery chemistry options and battery capacity considerations carefully to maximize efficiency and freedom in flight.
- Battery Chemistry Options: Lithium Polymer (LiPo) batteries dominate due to high energy density and discharge rates, providing ideal power-to-weight ratios for agile maneuvers. Alternatives like Li-ion offer longer life but lower power output.
- Capacity Considerations: Measured in milliamp hours (mAh), capacity dictates flight time. Balancing weight versus capacity is essential—larger capacity increases duration but adds weight, impacting agility.
- Voltage and Cell Count: Verify voltage matches motor and ESC requirements; mismatches can cause performance loss or damage.
Choosing the right battery guarantees your drone is both powerful and free to explore longer.
Power Distribution Setup
Three critical elements must be considered when wiring your drone’s power system: ensuring proper current flow, minimizing voltage drops, and protecting components from electrical faults. Start by selecting a power distribution board that matches your drone’s voltage and current requirements. Connect the battery leads directly to the input terminals, ensuring polarity is correct to avoid damage. Use appropriately gauged wires to handle peak current without excessive resistance, which reduces voltage drops and improves efficiency. Integrate circuit protection devices such as fuses or electronic speed controller (ESC) built-in safeguards to prevent overcurrent conditions. Secure all connections with solder and heat shrink tubing to maintain mechanical stability and prevent shorts. This precise power distribution setup guarantees reliable energy delivery, enabling your drone to perform freely and safely during flight.
Attaching the Propellers and Testing Motor Functionality
Propeller installation is a critical step that directly impacts your drone’s flight stability and efficiency. You’ll want to select propeller materials—typically carbon fiber or reinforced plastic—that balance weight and durability for ideal performance. Next, follow these steps:
- Securely attach each propeller to its corresponding motor shaft, ensuring the direction matches the motor’s rotation.
- Perform motor balancing by spinning each propeller slowly to detect vibrations or wobbling that could reduce control precision.
- Adjust or replace any imbalanced propellers to maintain smooth motor function.
Testing motor functionality after installation is essential; run each motor at low speed initially to confirm smooth acceleration and consistent power delivery. Properly installed and balanced propellers will grant you the freedom to pilot confidently with maximum responsiveness.
Configuring the Software and Performing Final Flight Checks
Before you take your drone to the skies, configuring the flight control software and performing thorough final checks are essential steps. You’ll start by calibrating sensors and updating firmware, ensuring responsiveness and precision. Software troubleshooting is critical here—identify and resolve any anomalies before flight. Use a detailed pre flight checklist to guarantee reliability.
| Task | Description | Status |
|---|---|---|
| Firmware Update | Install latest flight control software | Complete |
| Sensor Calibration | Align gyroscope, accelerometer, compass | Complete |
| Motor Response Test | Verify throttle and direction inputs | Complete |
| GPS Signal Check | Confirm satellite lock and accuracy | Complete |
| Fail-safe Configuration | Set return-to-home and battery alerts | Complete |
This structured approach frees you to focus on flight, confident your drone performs flawlessly.
