
To build an FPV (First Person View) drone, you need to gather the right components, assemble them carefully, and configure your flight settings. This guide will walk you through each step to ensure your drone is ready for an immersive flying experience. FPV drones have gained immense popularity among hobbyists and professionals alike due to their ability to provide real-time video feeds from the drone’s perspective. Whether you are looking to race, capture stunning aerial footage, or simply enjoy the thrill of flying, building your own FPV drone offers a rewarding and customizable experience.
Understanding FPV Drone Components

Building an FPV drone begins with understanding its key components, each playing a crucial role in the overall performance and functionality of the drone.
– Frame: The frame serves as the structure of your drone and is crucial for its durability and weight. Lightweight materials such as carbon fiber or plastic are often used to ensure that the drone can achieve high speeds without compromising stability. The size of the frame should align with your intended use; for racing, a smaller frame may be preferred, whereas larger frames can provide better stability for aerial photography.
– Motors: Motors are essential for propelling your drone into the air. Choosing the right motors involves considering their size, thrust, and efficiency. Brushless motors are typically favored in FPV drones for their reliability and performance. For example, a 2205 motor is a common choice for racing drones, providing a good balance of power and efficiency. It’s important to match the motor size with the weight of your drone to ensure optimal flight performance.
Gathering Necessary Equipment

Once you have a grasp of the components, the next step is to gather necessary equipment to bring your FPV drone to life.
– Flight Controller: The flight controller is the brain of your drone, responsible for stabilizing and controlling flight. Popular flight controllers like the Betaflight F4 or the Kakute F7 support a range of features including OSD (On-Screen Display) and telemetry. Look for a flight controller with good reviews and community support, as this will help you troubleshoot any issues during setup.
– Camera and Video Transmitter: A high-quality FPV camera and video transmitter are crucial for an immersive flying experience. Look for cameras like the RunCam Swift or Foxeer Predator, which provide excellent low-light performance and minimal latency. The video transmitter (VTx) should have adjustable power settings to comply with local regulations, and models like the TBS Unify Pro are renowned for their reliability and quality.
Assembling the Drone
With all components in hand, it’s time to assemble your FPV drone carefully.
– Mounting Components: Begin by securing the frame and mounting the motors. Use screws or zip ties to ensure that everything is tightly fastened. It’s advisable to follow the manufacturer’s instructions for mounting to avoid any structural issues. Pay attention to the orientation of the motors, as this affects the drone’s flight behavior.
– Wiring: Proper wiring is essential for the functioning of your drone. Connect the motors to the flight controller, ensuring you maintain the correct polarity (positive and negative). Use heat shrink tubing or electrical tape to protect connections from moisture and damage. A clean wiring job not only looks professional but also reduces the risk of electrical interference during flight.
Configuring Software Settings
After assembling your drone, configuring the software settings is crucial for optimal performance.
– Flight Controller Setup: Use software like Betaflight or iNav to configure your flight controller settings. This involves connecting your drone to a computer and using the software to calibrate sensors, set flight modes, and configure your receiver. Take your time to familiarize yourself with the software interface, as it can significantly impact your drone’s flight characteristics.
– Tuning: Tuning your drone’s PID (Proportional, Integral, Derivative) settings is essential for achieving stable flight. Each drone is unique, and tuning may require several iterations to perfect. Start with default settings and gradually adjust them based on flight behavior. Resources like online forums and YouTube tutorials can provide valuable insights into effective tuning strategies.
Testing Your Drone
Before taking your FPV drone for a full flight, conducting test flights is vital to ensure everything operates correctly.
– Initial Flight Tests: Begin with short test flights in an open area to evaluate the drone’s stability and responsiveness. Monitor how the drone reacts to controls and make note of any issues such as drifting or oscillation. A good practice is to perform a “bunny hop” test, where you lift the drone a few feet off the ground to check for stability before attempting longer flights.
– Adjustments: Based on the results of your test flights, you may need to make adjustments to improve handling and flight performance. This could involve revisiting your PID tuning or making physical adjustments to the weight distribution of the drone. Document any changes you make for future reference.
Safety Considerations
Safety should always be a priority when flying drones, especially FPV models.
– Pre-Flight Checks: Before each flight, conduct a thorough inspection of your drone. Check that all components are secure, batteries are charged, and that there are no visible signs of damage. It’s also important to ensure that your FPV gear is functioning correctly and that your video feed is clear.
– Regulations: Familiarize yourself with local regulations regarding drone flying. Different regions have varying rules about where and how high you can fly, as well as restrictions on flying near populated areas. Following these regulations not only ensures your safety but also the safety of others.
Building an FPV drone involves understanding the components, gathering the right equipment, and configuring it properly for the best flying experience. By following this comprehensive guide, you can embark on an exhilarating journey into the world of FPV flying. Whether you’re racing through gates, capturing breathtaking landscapes, or simply enjoying the thrill of flight, the satisfaction of building your own drone enhances the experience. Happy flying!
Frequently Asked Questions
What components do I need to build an FPV drone?
To build an FPV (First Person View) drone, you’ll need several key components: a frame, motors, electronic speed controllers (ESCs), a flight controller, a battery, propellers, a camera, and a video transmitter. Additionally, you’ll need a remote control system and a receiver to pilot your drone. When selecting components, ensure they are compatible and suited for your intended use, whether for racing, leisure, or aerial photography.
How do I assemble the parts of my FPV drone?
Assembling an FPV drone involves several steps: First, mount the flight controller onto the drone frame, followed by attaching the motors to the arms. Connect the ESCs to the flight controller and motors, ensuring all wiring is neat and secure. Install the camera and video transmitter, connecting them to the flight controller and power supply. Finally, attach the propellers and perform a pre-flight check to ensure everything is in order before your first flight.
Why is tuning important in FPV drone building?
Tuning is crucial in FPV drone building because it optimizes the drone’s flight performance and responsiveness. Proper tuning adjusts parameters such as PID settings (Proportional, Integral, Derivative) to ensure stable flight, effective control, and minimized oscillations during maneuvers. A well-tuned drone enhances the overall flying experience, making it easier to control and more enjoyable to pilot, especially in competitive racing scenarios.
What is the best FPV drone frame for beginners?
For beginners, the best FPV drone frame is typically a lightweight and durable model, such as the EMAX Tinyhawk II or the DJI FPV Combo. These frames offer a balance of stability and agility, making them forgiving for new pilots. Additionally, they come with user-friendly assembly instructions and community support, which can greatly help novices as they learn the basics of flying and building FPV drones.
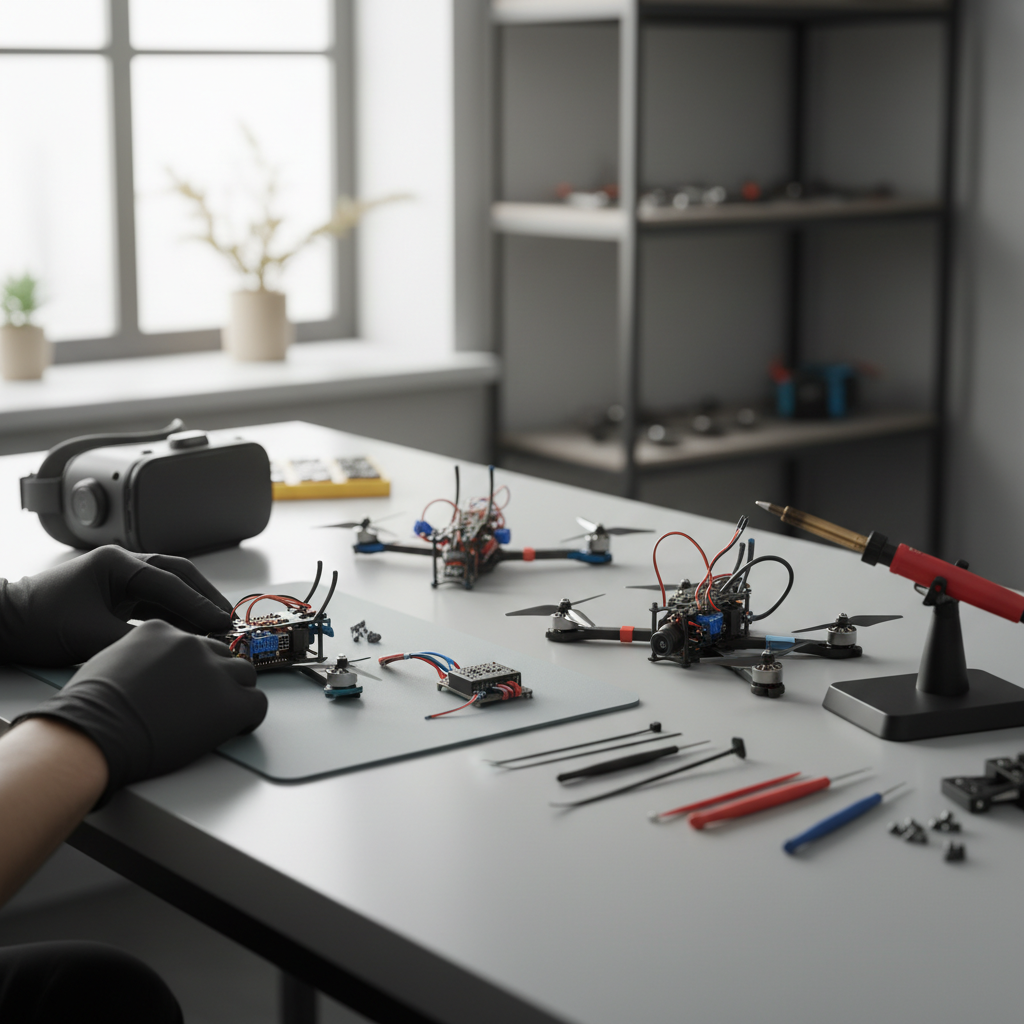
Which tools do I need to build an FPV drone effectively?
To effectively build an FPV drone, you’ll need a few essential tools: a soldering iron for connecting wires, a set of screwdrivers for assembling components, and pliers for securing nuts and bolts. A heat shrink tubing kit can help insulate your soldered connections, and a multimeter can assist in checking electrical connections. Having these tools will streamline the assembly process and ensure a reliable and safe drone build.
References
- https://en.wikipedia.org/wiki/FPV_drone
- https://www.abc.net.au/education/life-skills/fpv-drones/12345678
- https://www.esa.int/Applications/Observing_the_Earth/Copernicus/Sentinel-2/Sentinel-2_and_FPV_Drones
- https://www.nasa.gov/feature/nasa-s-unmanned-aerial-systems-traffic-management-research
- https://www.uspto.gov/learning-and-resources/ip-policy/technology-and-drones
- https://www.dji.com/uk/education/fpv-drone-resource-center
- https://www.nationalgeographic.com/science/article/how-to-build-your-own-drone-fpv-technology
- https://www.faa.gov/uas/getting_started/part_107/
