
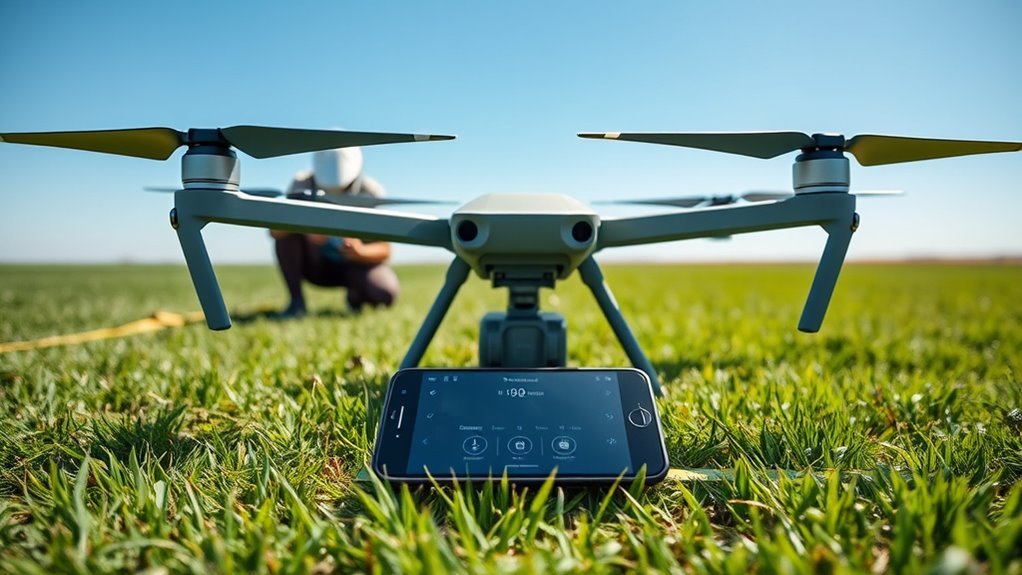
To calibrate your drone for accurate flight, start by ensuring it’s in good condition and fully charged. Update the firmware for peak performance. Next, calibrate the compass in a magnetically clear area, rotating the drone as instructed. Then, calibrate the gyroscope and remote controller to enhance stability. After calibration, test flight behavior to verify accuracy. If any issues arise, troubleshoot common problems like firmware updates or magnetic interference. There’s more to mastering calibration techniques.
Understanding Drone Calibration
Understanding drone calibration is essential for guaranteeing ideal flight performance and accuracy. By focusing on drone sensors, you can optimize their functionality through effective calibration techniques. These sensors, including gyroscopes, accelerometers, and magnetometers, require precise adjustments to maintain reliable data input.
When calibrating, you’ll typically engage in processes like compass calibration and IMU (Inertial Measurement Unit) calibration. These techniques help align the sensor readings with the drone’s physical environment, guaranteeing that your flight path is true and predictable. Regular calibration not only enhances performance but also extends the lifespan of your drone. By mastering these calibration techniques, you can guarantee that your drone operates at peak efficiency, granting you the freedom to explore the skies with confidence.
Importance of Calibration for Flight Accuracy
Calibrating your drone directly influences its flight accuracy, impacting everything from navigation to stability. When you calibrate, you guarantee that the sensors operate at peak performance, which is crucial for reliable flight performance. Accurate sensor readings allow your drone to respond correctly to environmental factors, such as wind and obstacles, enhancing overall stability during flight. Without proper calibration, you risk erratic behavior, leading to potential crashes or loss of control. Furthermore, consistent calibration helps maintain sensor accuracy over time, guaranteeing that your drone performs at its best in various conditions. By prioritizing calibration, you empower yourself to explore freely, confident that your drone will respond predictably and safely, allowing for a more enjoyable flying experience. Additionally, understanding exclusions in drone insurance can help you mitigate risks associated with potential crashes, ensuring you have the right coverage in place.
Preparing Your Drone for Calibration
Before you initiate the calibration process, verify your drone is in prime condition and ready for accurate adjustments. Start by checking battery management; make certain your battery is fully charged and free from damage. Next, confirm that firmware updates are installed, as outdated software can lead to inaccurate readings during calibration. Additionally, ensure that your drone’s advanced battery technology is functioning properly to optimize power usage for longer missions. A well-maintained drone with high-capacity lithium-polymer batteries ensures stable power output for extended flights.
| Component | Check | Status |
|---|---|---|
| Battery | Fully charged | ✔ |
| Firmware | Up-to-date | ✔ |
| Physical Condition | No visible damage | ✔ |
Once these checks are complete, your drone will be prepared for the calibration process, guaranteeing peak performance and flight accuracy.
Calibrating the Compass
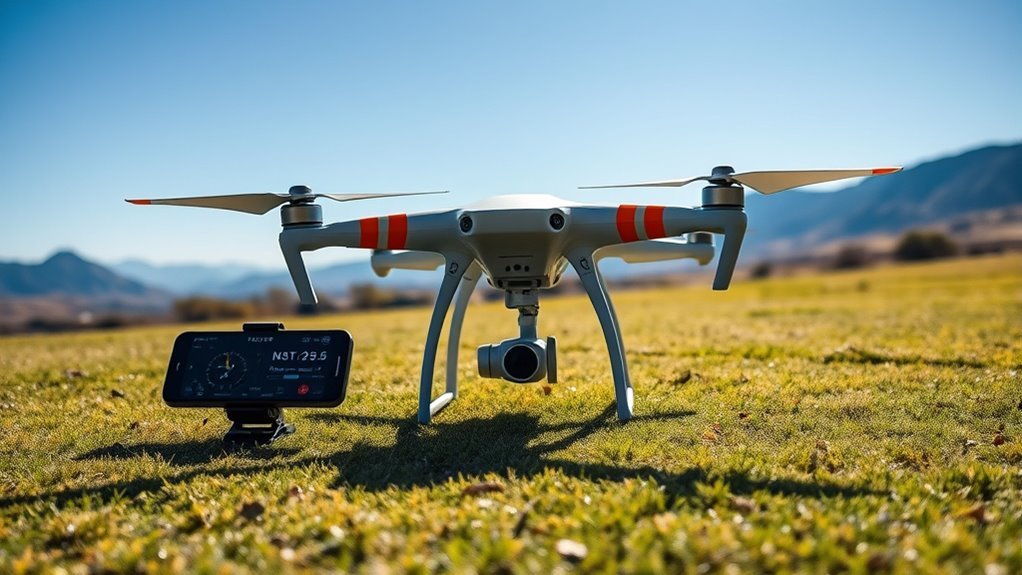
To guarantee your drone’s navigation system functions accurately, calibrating the compass is essential. Begin by selecting a clear area away from potential sources of magnetic interference, like metal structures or power lines. Power on your drone and follow the manufacturer’s instructions to enter compass calibration mode. You’ll typically need to rotate the drone slowly in different orientations—horizontal and vertical—to align its compass orientation with the Earth’s magnetic field. Ascertain that you’re maintaining a steady pace to avoid errors. After completing the rotations, check for any warnings or errors, which may indicate residual magnetic interference. Once calibrated, your drone should navigate more freely and accurately, providing you with a trustworthy flying experience.
Calibrating the Gyroscope
A properly calibrated gyroscope is essential for your drone’s stability and flight performance. To start the calibration process, place your drone on a flat, level surface. Power it on, and access the calibration menu via your drone’s software. You’ll likely need to follow on-screen instructions to initiate the gyroscope calibration sequence. This often involves rotating the drone in specific orientations to guarantee accurate readings. Pay attention to the gyroscope sensitivity settings; adjusting these can enhance responsiveness and precision during flight. Once calibrated, perform a test flight in a controlled environment to verify stability. If you notice any drifting or instability, repeat the calibration process until ideal performance is achieved, making sure your drone flies freely and accurately.
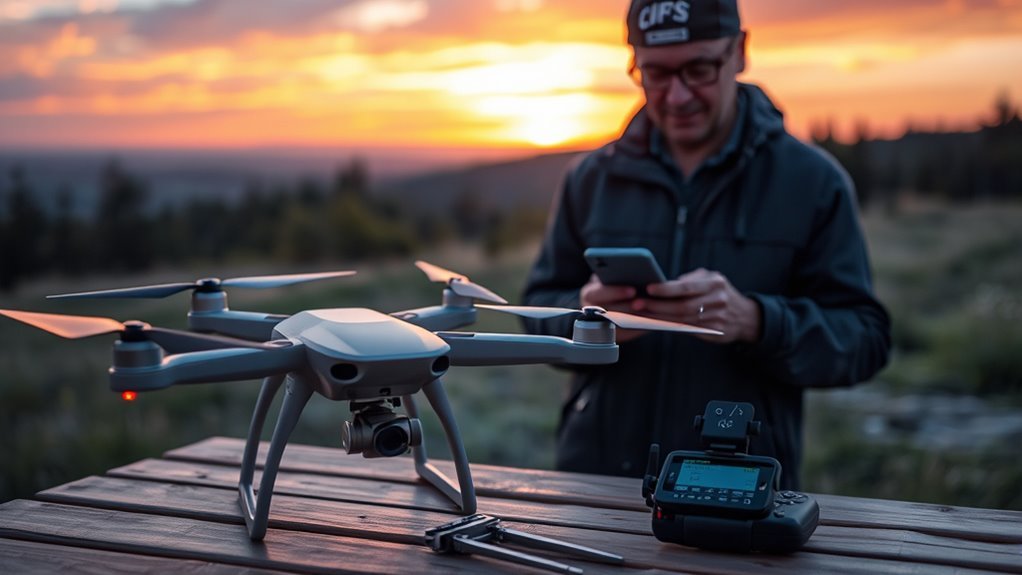
Calibrating the Remote Controller
Calibrating the remote controller is essential for ensuring accurate communication between you and your drone. Proper controller adjustments enhance responsiveness and control, allowing for a seamless flying experience. To achieve this, follow these steps:
- Access the remote settings in your drone’s companion app.
- Center all sticks and reset any drift by completing the calibration process as prompted.
- Test responsiveness by moving each stick through its full range of motion.
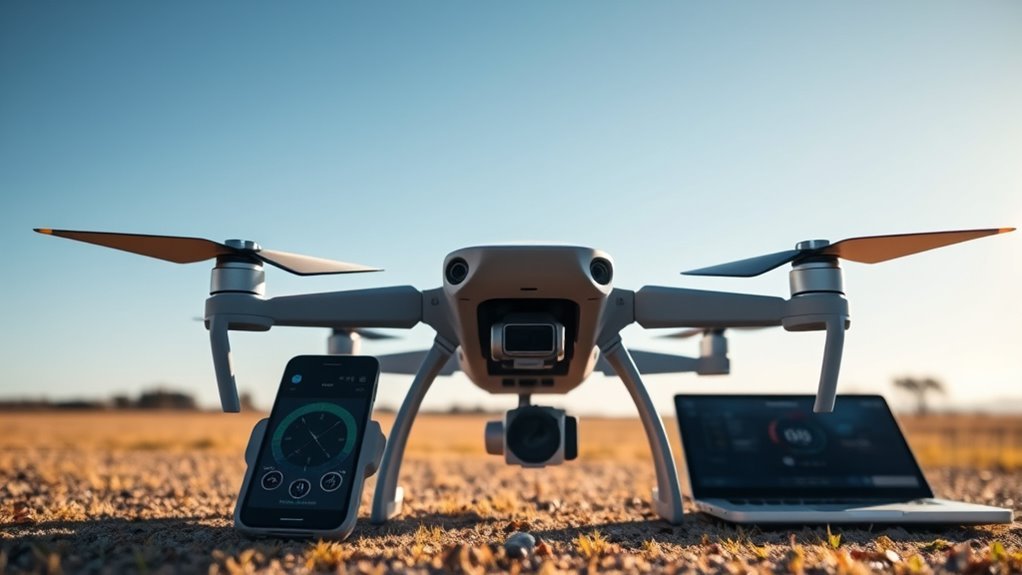
Testing the Calibration
After verifying that your remote controller is calibrated, the next step is to test the calibration to confirm that all systems are functioning correctly. You can employ various testing methods to assess the drone’s responsiveness and stability. Start by conducting a short flight in an open area, observing how the drone reacts to your inputs. Monitor its altitude, yaw, pitch, and roll. Take note of any calibration challenges, such as drifting or delayed responses. It’s essential to evaluate how well the drone maintains its position and adheres to your commands. By systematically analyzing these aspects, you can ascertain that your drone is ready for precise and reliable flight. This thorough testing will enhance your flying experience and confidence in your drone’s capabilities.
Troubleshooting Common Calibration Issues
When faced with calibration issues, identifying the root cause is vital for restoring your drone’s performance. Common errors often arise during the calibration process, so it’s important to apply effective calibration tips to troubleshoot effectively.
- Verify your drone’s firmware is up-to-date as outdated software can lead to inaccuracies.
- Check for magnetic interference from nearby objects, which can skew sensor readings.
- Review your calibration environment; conducting calibration indoors versus outdoors can yield different results.
Frequently Asked Questions
How Often Should I Calibrate My Drone?
You should calibrate your drone regularly, preferably before each flight, especially if environmental factors like magnetic interference or temperature changes are present. Calibration frequency guarantees peak performance and accuracy, giving you the freedom to fly confidently.
Can Calibration Be Done in Any Location?
Calibration can be done in various locations, but location factors like magnetic interference can greatly impact calibration accuracy. Notably, 70% of flight anomalies stem from improper calibration, emphasizing the need for careful consideration of your surroundings.
What Tools Are Needed for Calibration?
For the calibration process, you’ll need specific calibration tools like a level, compass, and potentially software for fine-tuning settings. These guarantee your drone maintains accuracy, giving you the freedom to explore confidently.
Will Calibration Affect Battery Life?
Calibration doesn’t directly affect battery life, but it can enhance battery performance by optimizing flight stability. When your drone’s stable, it uses less energy, prolonging battery duration during flights and improving overall operational efficiency.
Can I Fly Immediately After Calibration?
Imagine a bird stretching its wings after a storm. You can fly immediately after calibration, but wait a few moments to guarantee all systems align perfectly. Calibration timing’s essential for a successful, uninhibited flight experience.
