
To master drone photography, you need to understand your drone’s camera features, like resolution and lens types. Choose settings like ISO, shutter speed, and aperture wisely, based on lighting and motion. Employ composition techniques such as the rule of thirds and leading lines for engaging visuals. Don’t overlook the impact of natural light during golden hours. Familiarize yourself with safety regulations and post-processing tips to elevate your work. Explore more techniques to enhance your aerial photography journey.
Understanding Your Drone’s Camera Features

When you’re diving into drone photography, understanding your drone’s camera features is essential for capturing stunning aerial shots. Start by exploring the camera resolution; higher resolutions provide detail and clarity, allowing you to print or crop without losing quality. Next, consider lens types—wide-angle lenses create expansive views, while telephoto lenses can zoom into distant subjects, offering versatility in your compositions. Each lens type brings different dimensions to your shots, enhancing your creative freedom. Additionally, high-quality camera capabilities like advanced gimbal stabilization can significantly improve the smoothness of your footage. The integration of Hasselblad’s medium-format magic enhances the overall image quality, allowing for superior resolution and depth in your aerial photography. Experimenting with these features will help you release the full potential of your drone’s camera. So, whether you’re capturing sweeping landscapes or intimate close-ups, knowing your equipment guarantees every flight becomes an opportunity for breathtaking imagery. Embrace this knowledge, and let your creativity soar!
Choosing the Right Settings for Aerial Photography

When you’re capturing breathtaking aerial shots, understanding your ISO settings is essential for managing light sensitivity and image quality. You’ll also want to master shutter speed to freeze motion or create beautiful blur effects, while aperture adjustments can help control depth of field for a stunning visual impact. Each of these settings plays an important role in crafting the perfect shot, so let’s break them down.
ISO Settings Explained
While capturing stunning aerial images with your drone, understanding ISO settings is essential for achieving ideal exposure and image quality. ISO sensitivity measures your camera’s ability to capture light; a lower ISO, like 100, is perfect for bright conditions, while a higher ISO, such as 800 or beyond, comes in handy during low-light scenarios. However, higher ISO settings can introduce noise, impacting image clarity. Making smart ISO adjustments allows you to balance light and detail, letting your creativity shine through. Experimenting with different settings can help you discover the sweet spot for your unique style. Embrace the freedom of aerial photography by mastering ISO; it’s a critical tool in your quest for breathtaking drone shots.
Shutter Speed Importance
Understanding shutter speed is essential for capturing sharp, dynamic aerial photographs, especially since it directly influences how motion is portrayed in your images. Choosing the right shutter speed can dramatically affect your shots; a fast shutter freezes motion, making it ideal for racing clouds or a bustling cityscape. On the other hand, experimenting with long exposure can create stunning light trails from vehicles or smooth out water surfaces, infusing your images with a sense of serenity. Remember, shutter speed effects vary with your drone’s altitude and speed; you’ll need to adjust accordingly. So, whether you’re chasing sunsets or soaring over landscapes, mastering shutter speed will empower you to release your creativity and capture the world from above like never before.
Aperture Adjustments Tips
Choosing the right aperture is essential for achieving the desired depth of field and overall image quality in aerial photography. When you adjust your aperture settings, you’re not just letting in light; you’re also exercising depth control. A wider aperture (lower f-stop number) creates a shallow depth of field, ideal for isolating subjects against a soft background. Conversely, a smaller aperture (higher f-stop) enhances sharpness across the entire frame, which is perfect for vast landscapes. Remember, the altitude and light conditions play a critical role in your choices. Experiment with different settings to discover what works best for your style. With practice, you’ll master the art of aperture adjustments, giving your aerial shots the freedom and creativity they deserve.
Mastering Composition Techniques From Above
When you’re capturing aerial images, mastering composition techniques can elevate your work considerably. Utilizing the Rule of Thirds can help you position key elements for balance, while leading lines draw the viewer’s eye through the scene. Don’t overlook framing and perspective; they can transform ordinary landscapes into extraordinary visuals by providing depth and context. Additionally, understanding your drone’s advanced battery technology allows for longer missions, enabling more opportunities to capture the perfect shot. The Yuneec Typhoon H3, for instance, offers up to 25 minutes of flight time, giving you ample time to experiment with different angles and compositions.
Rule of Thirds
Few principles in photography hold as much power as the Rule of Thirds, especially when capturing images from the sky. This technique can elevate your drone photography by enhancing composition basics and ensuring your shots resonate with viewers.
To effectively apply the Rule of Thirds, remember to:
- Align key subjects: Position your focal points along the grid lines or at their intersections to create balance.
- Enhance depth: Incorporate foreground elements for a layered effect, drawing the viewer’s eye into the scene.
- Utilize negative space: Allow empty areas around your subject to emphasize its significance and evoke emotion.
With mindful drone alignment, you’ll release creativity and craft stunning aerial images that captivate and inspire.
Leading Lines
After mastering the Rule of Thirds, incorporating leading lines into your drone photography can further elevate your compositions. Leading line techniques create visual pathways that guide the viewer’s eye through your frame. Look for natural elements like roads, rivers, or fences that draw attention toward your subject. Elevate your perspective by positioning your drone to emphasize these lines—this can transform a mundane landscape into a dynamic scene. Experiment with angles, ensuring the lines converge towards a focal point, creating depth and intrigue. Harnessing these techniques allows you to craft compelling narratives within your images, making your audience feel as though they’re journeying through your lens. Embrace the freedom of exploration; let leading lines elevate your aerial storytelling.
Framing and Perspective
Three essential techniques for framing and perspective can dramatically enhance your drone photography. By mastering these, you’ll reveal the full potential of your aerial shots.
- Vary Your Drone Angles: Experiment with different heights and orientations to capture unique perspectives. Low angles can emphasize foreground elements, while high angles reveal intricate patterns.
- Use Aerial Framing: Incorporate natural elements like trees or buildings to frame your subject. This adds depth and guides the viewer’s eye toward the focal point.
- Rule of Thirds: Position your subject off-center to create balance and interest. Imagine dividing your image into thirds both horizontally and vertically, placing key elements along these lines.
These techniques will elevate your drone photography, allowing your creative vision to soar.
The Importance of Lighting in Drone Photography
Although many drone photographers focus on composition and altitude, the quality of lighting can profoundly influence the mood and clarity of your images. Harnessing natural light, especially during the golden hour, can elevate your shots to another level. The soft, warm hues during this time create stunning contrasts and emphasize textures. Additionally, ensuring your drone’s 3-axis gimbal is functioning optimally will help maintain stability and clarity in varying lighting conditions.
| Lighting Type | Best Time |
|---|---|
| Natural Light | Sunrise/Sunset |
| Direct Sunlight | Midday |
| Overcast Light | All Day |
| Twilight Light | Dusk/Dawn |
Utilizing these lighting conditions effectively gives you the freedom to capture breathtaking scenes that resonate with emotion. Embrace the moment and let the light guide your creativity. Additionally, understanding swarm technology can enhance your ability to capture dynamic aerial perspectives during your drone photography sessions.
Capturing Motion and Dynamic Shots
While capturing the essence of movement in your drone photography, you’ll find that timing and technique are essential. To create stunning dynamic shots, consider these three strategies:
- Adjust Shutter Speed: Slow it down to introduce motion blur, which adds a sense of speed and energy to your images.
- Experiment with Dynamic Angles: Fly at various altitudes and inclinations to discover perspectives that enhance the feeling of movement.
- Track Moving Subjects: Whether it’s a cyclist or a flowing river, follow them closely. This creates a narrative in your shot and emphasizes the dynamic nature of your scene. Additionally, understanding your drone’s battery capacity can help you plan for longer flights to capture the perfect shot without interruptions.
Post-Processing Tips for Aerial Images
After capturing those thrilling dynamic shots, the next step is refining your aerial images through post-processing. Start with color correction to enhance the vibrancy and accuracy of your landscapes. Use software like Adobe Lightroom or Photoshop, adjusting the saturation and contrast to bring out the natural beauty of the scene. Next, don’t forget about noise reduction; aerial images can often have grain, especially in low-light conditions. Use a noise reduction tool to smooth out those imperfections without losing detail. Finally, consider cropping for composition and applying sharpening to emphasize the key elements in your shot. These techniques will elevate your drone photography, allowing your unique vision to soar above the rest. Additionally, leveraging 5.1K video resolution ensures that your captured images maintain exceptional detail and clarity throughout the editing process. Happy editing!
Safety and Legal Considerations for Drone Photography
As you prepare to take to the skies with your drone, understanding safety and legal considerations is essential for a smooth and responsible flight experience. Familiarizing yourself with drone regulations not only protects you but enhances your creative freedom. Here are three key points to keep in mind:
- Know your local regulations: Check for any specific rules regarding altitude limits, no-fly zones, and required permits. Additionally, understanding flight time capabilities of your drone can help you plan your shoots effectively.
- Prioritize flight safety: Always maintain visual line-of-sight with your drone, and avoid flying over crowds or private property without permission. Ensuring stable flight control, as found in advanced models like the EXO Blackhawk 3, can further enhance safety during your aerial maneuvers.
- Respect privacy laws: Be mindful of where you’re capturing images; make sure you’re not infringing on others’ privacy rights. Additionally, federal regulations govern airspace and drone operation, so understanding these laws is crucial for responsible flying.
Inspiring Examples of Stunning Drone Photography
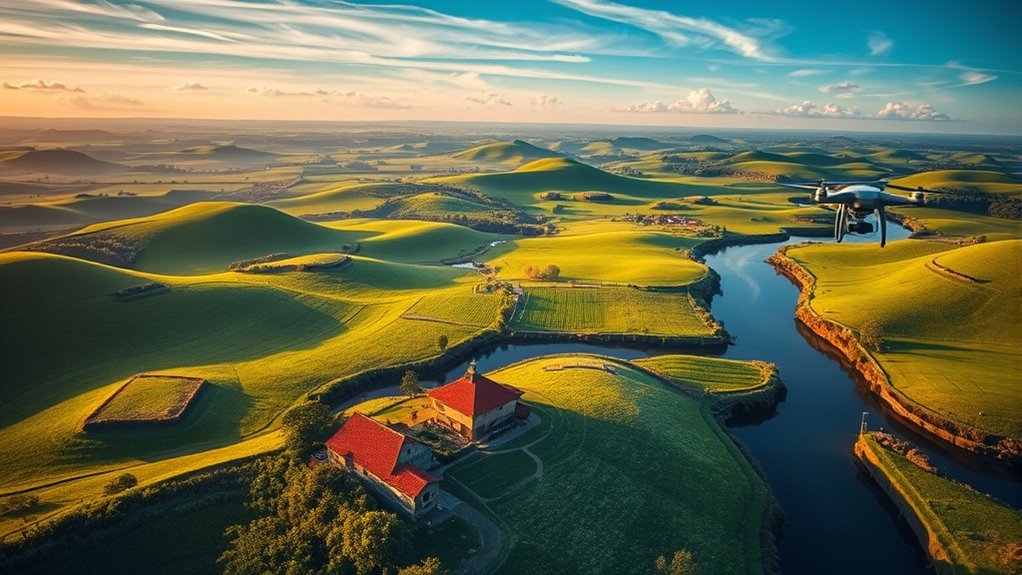
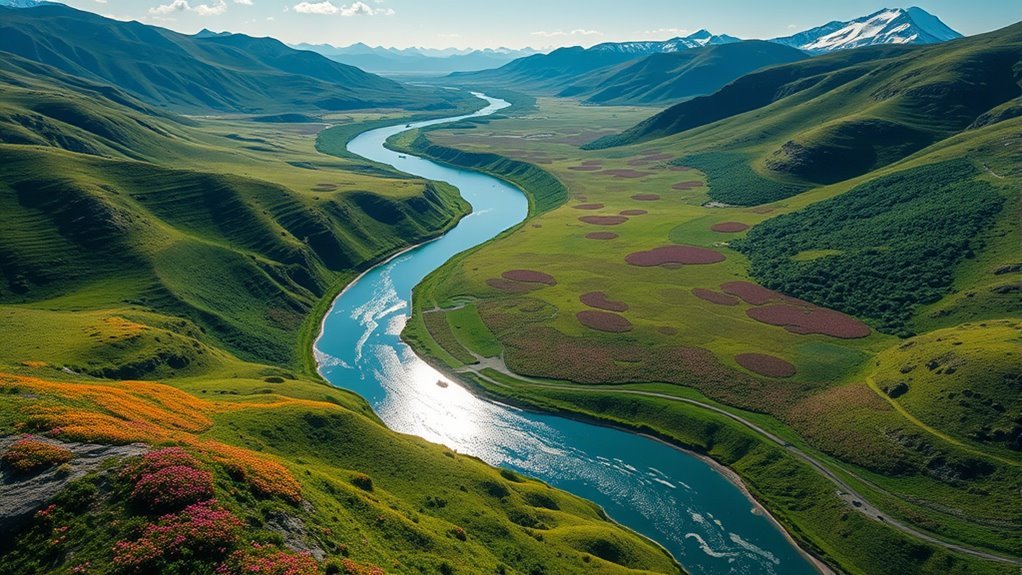
When you look at breathtaking aerial shots, it’s hard not to feel inspired by the unique perspectives that drone photography offers. Imagine capturing vast, inspirational landscapes where rolling hills meet the horizon, bathed in golden sunlight. Each frame can tell a story, revealing hidden gems that ground-level shots miss.
Consider the enchanting beauty of breathtaking cityscapes at twilight, where lights twinkle like stars against a deepening sky. You can experiment with angles, showcasing the intricate patterns of urban architecture or the flow of busy streets. By mastering drone techniques like exposure bracketing and dynamic range, you’ll elevate your photography to new heights. Additionally, understanding your drone’s 1-inch CMOS sensor can greatly enhance the image quality of your shots. For those using more advanced drones, such as the Freefly Alta 8 Pro, the superior dynamic range it offers can truly transform your low-light photography capabilities. Embrace the freedom that drone photography provides, and let your creativity soar!
Frequently Asked Questions
How Can I Improve My Drone Flying Skills for Better Photography?
To improve your drone flying skills, practice advanced flight techniques like smooth maneuvers. Experiment with camera settings—shutter speed, ISO—while capturing diverse angles. This’ll enhance your photography and give you the freedom to explore creatively.
What Are the Best Drones for Photography Beginners?
When seeking the best drones for photography beginners, consider drone specifications like flight time, stability, and camera quality. Models like DJI Mini 2 and Air 2S offer excellent ease of use and impressive image capabilities.
How Do Weather Conditions Affect Drone Photography?
Weather conditions can dramatically affect your drone photography. Heavy cloud cover can diffuse light, reducing contrast, while favorable lighting conditions enhance colors and details. Always check forecasts to capture your best aerial shots under ideal conditions.
Can I Use Filters on My Drone’s Camera?
Yes, you can use filters on your drone’s camera! Different filter types, like ND and polarizing filters, enhance your shots by reducing glare, improving color saturation, and allowing for longer exposure times. Enjoy capturing stunning aerial images!
What Are Common Mistakes to Avoid in Drone Photography?
In the world of drone photography, don’t let your creativity crash! Avoid framing errors and guarantee efficient battery management to keep your shots stunning and your flights soaring. Freedom lies in mastering these essential techniques.
