
To make your own drone, start by gathering lightweight frames, durable motors, and high-capacity batteries. Choose a frame that suits your needs for weight and stability. Next, select a flight controller tailored to your flying style. Install motors and propellers, ensuring correct orientation. Set up electronic speed controllers for peak performance. Connect the battery and transmitter, then perform pre-flight checks and calibration. Follow these steps closely, and you’ll reveal a world of drone-building possibilities.
Gather Your Materials
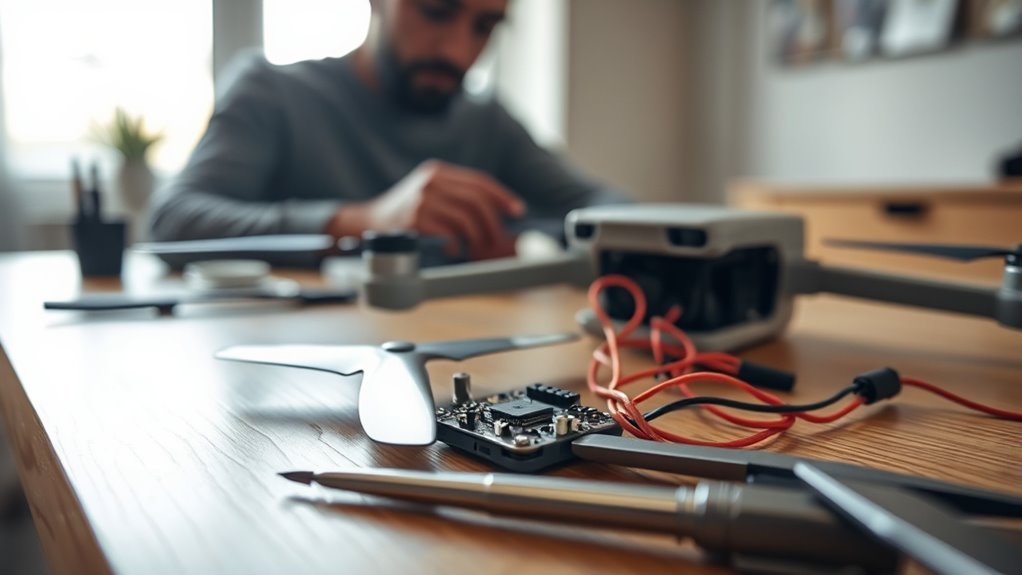
To build your own drone, you’ll need to gather a specific set of materials that will guarantee peak performance and functionality. Start with materials sourcing; consider lightweight frames, durable motors, and high-capacity batteries. You’ll want to prioritize quality, as these components directly affect your drone’s agility and flight time. Additionally, selecting high-quality materials can significantly enhance your drone’s overall durability and performance.
Next, assemble essential tools like a soldering iron for electrical connections, a multimeter for testing, and various screwdrivers for assembly. Make sure to have safety goggles on hand, ensuring you protect your eyes while working. Also, consider a workspace that’s organized to streamline your process. Remember, the right materials and tools will create a solid foundation for your drone, empowering you to explore the skies with confidence and autonomy. Additionally, opting for high-quality carbon fiber composites can enhance your drone’s impact resistance and overall durability.
Choose the Right Frame
Choosing the right frame is crucial, as it affects not only the drone’s weight but also its overall stability and maneuverability. You’ll want to take into account various frame materials like carbon fiber, plastic, and aluminum; each has distinct advantages. Carbon fiber offers a lightweight yet rigid structure, perfect for high-performance applications, while plastic might be suitable for budget builds. Additionally, frame designs vary from quadcopters to hexacopters, impacting flight characteristics. A well-chosen frame design can enhance agility and control, allowing you to push the limits of your drone. Verify the frame accommodates your desired components, including battery size and motor mounts, to achieve peak performance. Prioritize strength and weight balance for the best flight experience. Investing in a durable frame can also enhance flight stability and control, allowing you to capture smoother footage even in challenging conditions. Moreover, selecting a frame that supports longer flight times is essential for extended aerial adventures without frequent interruptions.
Select Your Flight Controller
Selecting the right flight controller is essential for your drone’s performance and capabilities. You’ll encounter various types, each with key features tailored to different flying styles and applications. Understanding these options will help you make an informed choice that aligns with your specific needs. For instance, drones like the Draganfly X4-ES utilize multi-axis stabilization algorithms for improved flight stability in turbulent conditions. Additionally, the integration of thermal cameras in certain drones enhances situational awareness during missions.
Types of Flight Controllers
While the flight controller is an essential component of any drone, understanding the various types available can greatly impact your build’s performance and capabilities. You’ll encounter flight controllers that offer advanced features like PID tuning, which enhances stabilization techniques for smoother flight. Controllers with multiple flight modes provide flexibility, enabling you to switch between manual and autonomous navigation seamlessly. Look for models with GPS integration for enhanced altitude control and drone safety. Regular firmware updates are vital to guarantee your controller remains compatible with the latest technologies. Ultimately, selecting the right flight controller will empower your drone’s potential, allowing you to explore and enjoy the freedom of the skies with confidence and precision.
Key Features to Consider
When evaluating flight controllers, it’s important to focus on key features that will shape your drone’s performance. Start by considering drone stability; a controller with advanced stabilization algorithms guarantees smooth flight, even in varying conditions. Look for features like GPS integration and altitude hold, which enhance stability and ease of operation.
Next, assess the flight range. Controllers with robust communication protocols extend the drone’s operational distance and minimize signal loss, allowing for greater freedom in exploration. Additionally, check compatibility with telemetry systems that provide real-time data on battery life and altitude, which can greatly improve your flying experience. Prioritize these features to optimize your drone’s efficiency and reliability during flights.
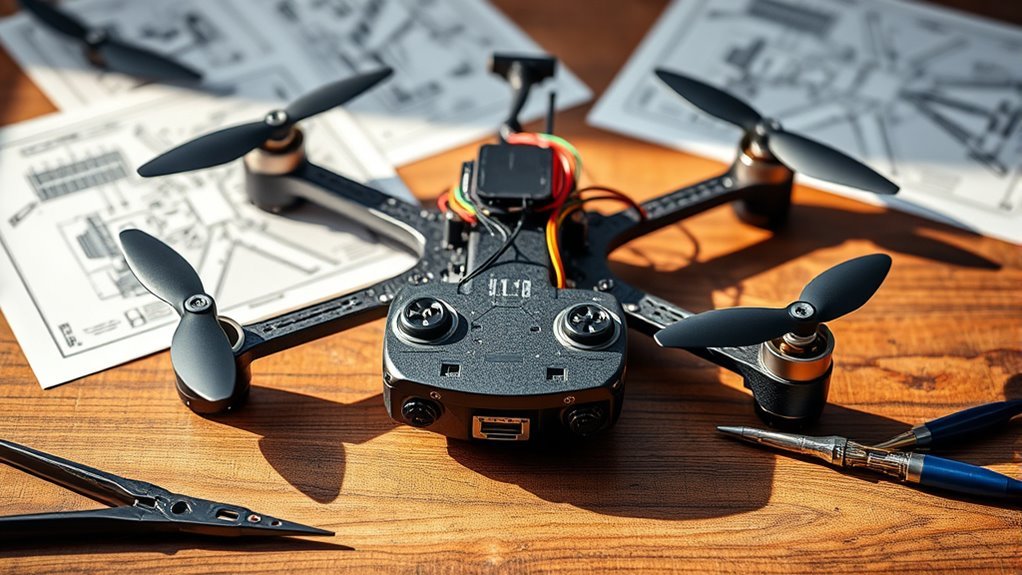
Install the Motors and Propellers
When installing the motors and propellers, you need to choose motors that match your drone’s weight and intended performance. After securing the propellers to the motors, make sure they’re attached tightly to prevent detachment during flight. Finally, double-check the orientation of each motor to confirm proper directional control.
Choose Appropriate Motors
Choosing the right motors for your drone is essential, as they directly impact performance, flight time, and stability. To guarantee your drone meets your needs, evaluate the motor specifications and perform thrust calculations.
| Motor Type | Thrust (g) |
|---|---|
| Brushless Motor | 800 |
| Coreless Motor | 500 |
| DC Motor | 600 |
| Stepper Motor | 700 |
| Servo Motor | 300 |
Select motors that provide adequate thrust for your drone’s weight. This balance guarantees efficient power usage and ideal flight duration. Remember, underpowered motors can lead to unstable flight, while overpowered ones might drain your battery quickly. Prioritize quality and specifications to achieve your desired flying experience.
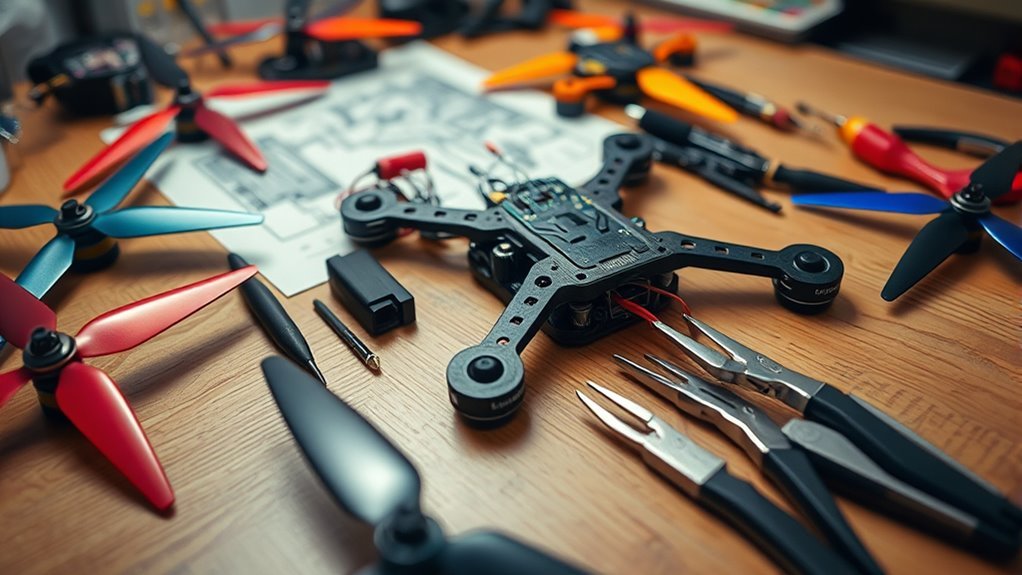
Attach Propellers Securely
To guarantee ideal flight performance, securely attaching the propellers to the motors is essential. Begin by selecting propeller materials that match your drone’s weight and intended use; lightweight plastic or sturdy carbon fiber are common choices. Verify you’ve got the right size and pitch for your motors. When attaching, use secure fastening techniques—tighten the propeller nuts or bolts firmly, but avoid overtightening, which can damage the motor shaft. Double-check the alignment and make sure there’s no wobbling; this can lead to vibrations that compromise flight stability. Always inspect the propellers for any signs of wear or damage before each flight. Proper installation not only enhances efficiency but also fosters a sense of freedom during your aerial adventures.
Check Motor Orientation
After confirming the propellers are securely attached, the next step is checking the motor orientation. Each motor must be aligned correctly to guarantee peak performance. The propeller direction plays a vital role in flight stability; clockwise and counterclockwise rotations must be appropriately matched to their corresponding motors. For instance, the motors responsible for clockwise rotation should have propellers that spin in that direction, while those for counterclockwise rotation should do the same. Misalignment can cause erratic flight behavior. To verify motor alignment, refer to your drone’s configuration diagram. It’s important to double-check these orientations before powering up your drone. A precise setup here guarantees not just functionality but also the freedom to explore the skies confidently.
Set Up the Electronic Speed Controllers
Setting up the electronic speed controllers (ESCs) is an essential step in ensuring your drone operates effectively and responds accurately to your commands. Start by connecting each ESC to its corresponding motor, verifying the correct orientation. Next, you’ll need to perform speed controller calibration. This process aligns the ESCs with your throttle inputs, ensuring they react appropriately during flight. Follow the manufacturer’s instructions for ESC programming, which may include setting parameters like brake settings and throttle ranges. It’s vital to execute these steps accurately, as improper calibration can lead to erratic motor behavior or even crashes. With the ESCs correctly set up, your drone will have the responsiveness and agility necessary for an exhilarating flying experience.
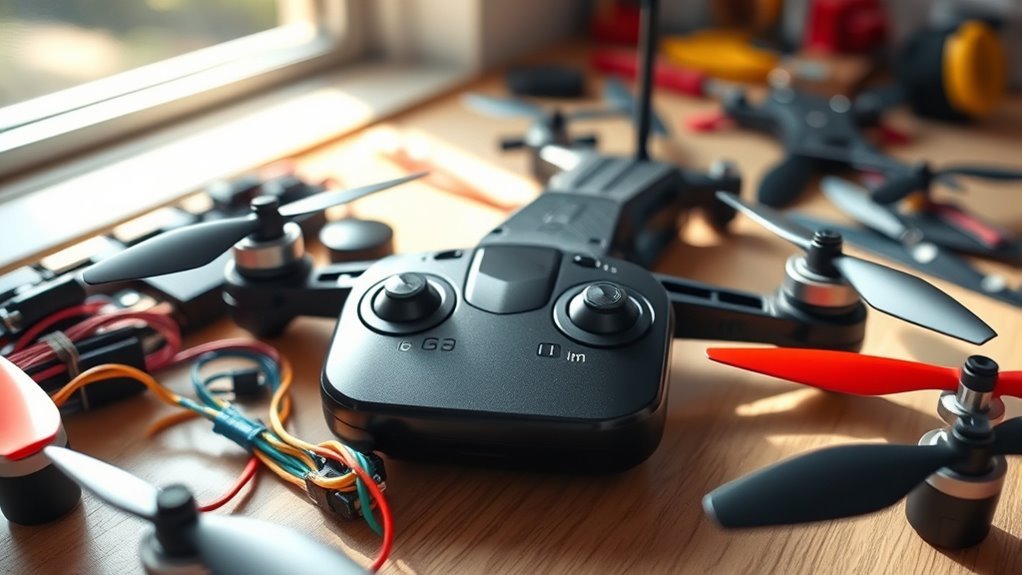
Connect the Battery and Transmitter
Connecting the battery and transmitter is a crucial step in preparing your drone for flight. First, identify the appropriate battery types compatible with your drone’s specifications, usually LiPo or NiMH. Verify the battery’s voltage matches your drone’s requirements to avoid potential damage. Next, securely connect the battery to the drone’s power distribution board, guaranteeing positive and negative terminals align correctly.
Once the battery is connected, turn your attention to the transmitter settings. Switch on the transmitter and bind it to the drone. This process typically involves pressing a button on the receiver while powering the transmitter. Confirm that the transmitter displays a solid connection. This step guarantees that you maintain control during flight, granting you the freedom to explore the skies confidently.
Perform Pre-Flight Checks and Calibration
Before you launch your drone, it’s essential to perform thorough pre-flight checks and calibration to guarantee safe operation and peak performance. Start with a detailed pre-flight inspection, making sure all components are secure, including propellers, battery, and camera. Check for any visible damage or obstructions that could affect flight stability. Additionally, ensure that you comply with drone regulations as you prepare for takeoff. Next, follow the calibration procedures for your drone’s sensors and GPS. This guarantees accurate readings and ideal functionality during flight. Don’t forget to verify your transmitter settings and confirm your firmware is up to date. Finally, confirm that your battery is fully charged. By meticulously conducting these checks, you’re not just enhancing performance but also embracing the freedom to fly with confidence and reliability. Remember that maintaining your drone’s signal stability and reliability is crucial for optimal flight performance.
Frequently Asked Questions
What Tools Do I Need to Build a Drone?
To build a drone, you’ll need essential drone components like motors, controllers, and batteries. Don’t forget assembly tools such as a soldering iron and screwdrivers to guarantee precise construction for peak performance and flight freedom.
Can I Customize My Drone’s Design?
Absolutely, you can customize your drone’s design! By exploring design variations and making aesthetic choices, you’ll not only enhance its functionality but also express your individuality, creating a unique flying experience tailored just for you.
How Much Does It Cost to Build a Drone?
Building a drone can cost anywhere from $100 to $1,000, depending on the drone materials you choose. You should also factor in budget considerations for additional components and tools necessary for assembly and customization.
Are There Legal Requirements for Flying Drones?
Flying drones can feel like soaring through the skies, but you’ve gotta navigate drone regulations and secure flight permissions. Ignoring these requirements could ground your freedom and lead to hefty fines or legal complications.
How Do I Troubleshoot Common Drone Issues?
To troubleshoot common drone issues, check for drone connectivity issues by ensuring firmware is updated and signals are strong. For battery performance problems, inspect connections and charge cycles, replacing the battery if necessary for ideal flight.
