
To connect your drone to Wi-Fi, first check its compatibility by reviewing specifications. Make sure it’s fully charged and powered on. Access the Wi-Fi settings in the drone’s menu and note any security passwords needed. Find your Wi-Fi network and connect. Once connected, verify the signal strength and test the connection by flying at various ranges. Troubleshoot any issues by restarting the drone or checking for interference. There’s more to explore about optimizing your drone’s Wi-Fi experience!
Understanding the Importance of Wi-Fi Connectivity for Drones
When you connect your drone to Wi-Fi, you access a range of functionalities that enhance your flying experience. The benefits of this connection are numerous. First, it allows for real-time data transmission, giving you live video feeds and flight stats. This immediacy can transform how you navigate and capture stunning visuals. Additionally, Wi-Fi connectivity improves your drone’s GPS accuracy, guaranteeing safer flights and better positioning. However, it’s vital to take into account Wi-Fi security. Make sure you connect to secure networks to protect your drone from unauthorized access. By prioritizing Wi-Fi security, you not only enjoy the expanded capabilities but also keep your drone safe while you explore the skies, granting you the freedom to fly without worry.
Checking Drone Compatibility With Wi-Fi
Before you attempt to connect your drone to Wi-Fi, it’s crucial to verify its compatibility with the network. Start by reviewing your drone specifications, which typically include supported Wi-Fi bands, such as 2.4GHz or 5GHz. Check the manufacturer’s website or manual for a compatibility checklist that outlines required features and network types. Ascertain your Wi-Fi router settings align with these specifications, as some drones may not connect to certain security protocols or frequency bands. If your drone supports dual-band connections, try using the 5GHz band for faster speeds. By confirming compatibility, you’ll avoid frustrating connection issues and enjoy a seamless flying experience. Freedom in the skies begins with a solid connection!
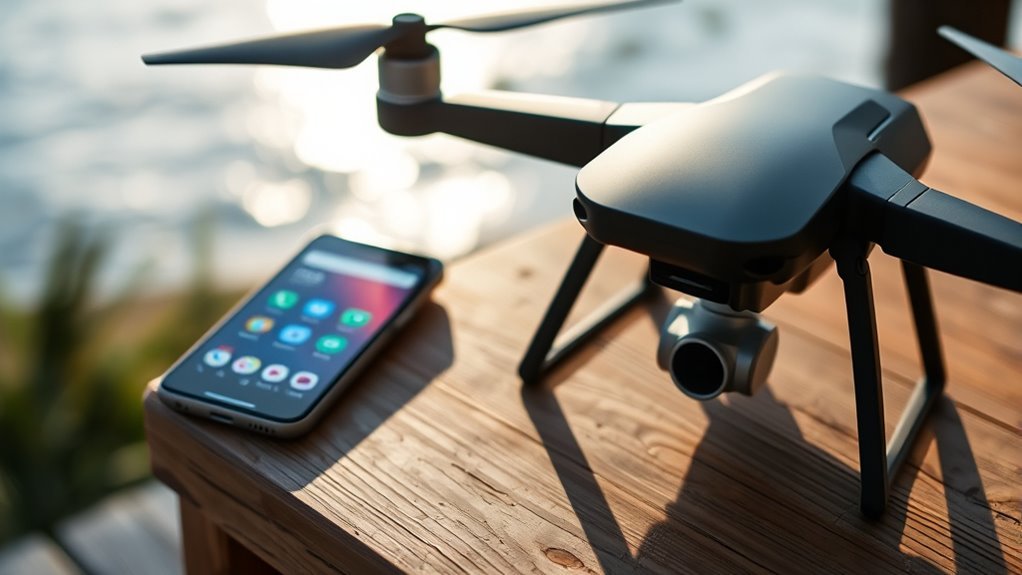
Preparing Your Drone for Connection

Getting your drone ready for a Wi-Fi connection involves a few essential steps. First, confirm your drone is fully charged and powered on. This guarantees a stable connection during the setup process. Next, take a moment to familiarize yourself with the drone’s user manual, as it often contains vital information specific to connection preparation. Check for any firmware updates; keeping your drone’s software current can enhance connectivity. Additionally, remove any obstacles that might interfere with the signal and verify you’re in an open area. Weather conditions can have a significant impact on signal strength. Finally, make sure your smartphone or tablet is connected to the same Wi-Fi network you intend to use for the drone setup. Following these steps will pave the way for a successful connection experience. The flight time of your drone can also influence how you prepare for the connection process, ensuring you have ample time for setup before flying.
Accessing the Drone’s Wi-Fi Settings
To access your drone’s Wi-Fi settings, first locate the settings menu on your device or remote control. Once you’re in the menu, you’ll find the option to connect to your preferred network. This step is essential for ensuring a stable connection between your drone and your Wi-Fi.
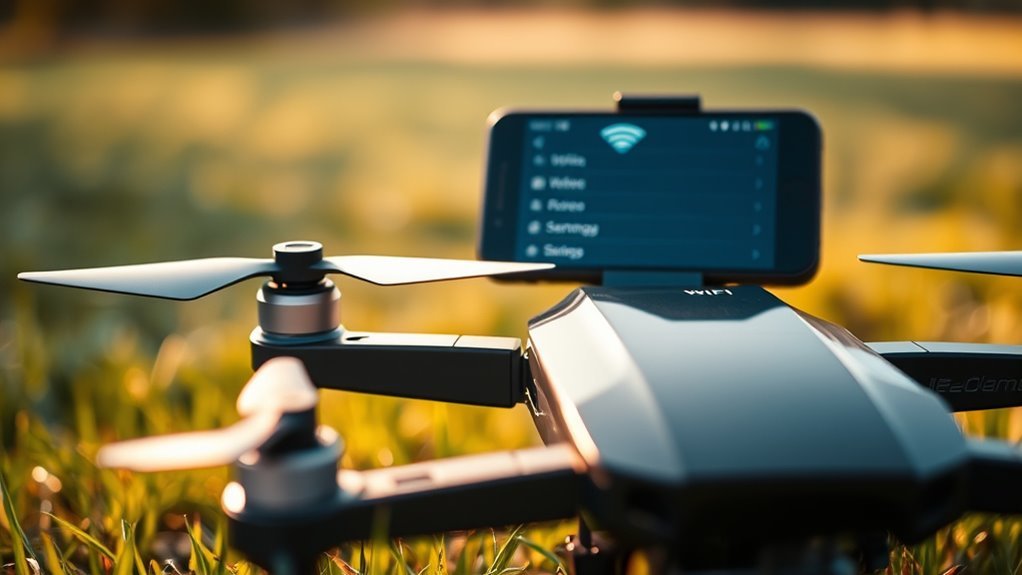
Locate Wi-Fi Settings
How can you quickly access your drone’s Wi-Fi settings? Start by turning on your drone and its controller. Then, navigate to the settings menu on your controller’s screen or the associated app on your smartphone. Look for the Wi-Fi or Connectivity option. Here, you’ll find details about the Wi-Fi frequency your drone operates on, typically 2.4GHz or 5GHz. Make sure you also check the Wi-Fi security settings, as ensuring a secure connection is essential for preventing unauthorized access. Once you locate these settings, you’ll be ready to connect to your preferred network. Don’t forget to note any passwords required for secure connections, as you’ll need them in the next steps to enjoy your flight freely.
Connect to Network
Once you’ve located your drone’s Wi-Fi settings, connecting to a network is straightforward. Just follow these simple steps to guarantee a secure connection with ideal Wi-Fi range:
- Select your network: Choose the Wi-Fi network you wish to connect to.
- Enter the password: Input the correct password for your network, guaranteeing it meets drone security standards.
- Check the signal strength: Make sure you’re within a good Wi-Fi range to maintain connection stability.
- Confirm connection: Look for a confirmation message that indicates a successful connection.
- Test your connection: Open your drone’s app to verify that it’s communicating with the network.
Once connected, you’re ready to explore the skies with peace of mind!
Finding Available Wi-Fi Networks
Before you can connect your drone to Wi-Fi, you’ll need to find available networks in your vicinity. This process involves Wi-Fi scanning, which helps identify networks your drone can connect to. Once you’ve scanned, you can make a smart network selection based on signal strength and security.
Here’s a quick overview of what to look for:
| Network Name | Signal Strength | Security Type |
|---|---|---|
| Network A | Strong | WPA2 |
| Network B | Moderate | WEP |
| Network C | Weak | Open |
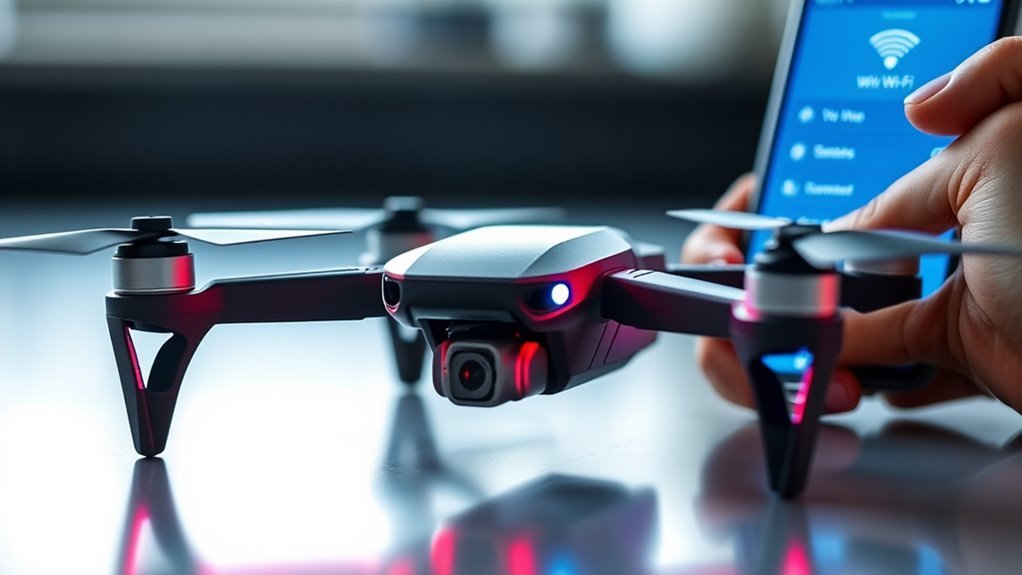
Connecting to Your Preferred Wi-Fi Network
Now that you’ve identified a suitable Wi-Fi network, connecting your drone is straightforward. Follow these steps to guarantee a smooth connection while keeping Wi-Fi security in mind:
Connecting your drone to a Wi-Fi network is easy—just follow these simple security-focused steps for a hassle-free experience.
- Access your drone’s Wi-Fi settings through the app or control panel.
- Select your preferred network from the list.
- Enter the Wi-Fi password accurately to avoid connection issues.
- Confirm the connection; if it fails, check for common network troubleshooting tips.
- Verify your drone’s firmware is updated for peak performance.
Verifying the Connection
Once you’ve connected your drone to Wi-Fi, it’s essential to verify the connection. First, check the signal strength to guarantee you have a stable connection, and then look for the connection status indicator on your drone’s interface. This will help you confirm that everything is working as it should.
Signal Strength Check
To guarantee your drone operates smoothly, checking the signal strength is essential after connecting to Wi-Fi. A strong signal guarantees peak range and reduces the risk of signal interference. Here’s how to evaluate your signal strength effectively:
- Check the Wi-Fi icon on your drone’s display for signal indicators.
- Test the distance by flying your drone at various ranges to observe performance.
- Monitor for interruptions caused by buildings, trees, or other obstacles.
- Switch channels if needed to avoid crowded frequencies that may cause signal interference.
- Enhance your setup by positioning your drone and router to maximize range.
Connection Status Indicator
While you’re ensuring your drone is connected to Wi-Fi, verifying the connection status is essential for a successful flight. Look for the signal indicators on your drone’s display or mobile app. These indicators typically show whether you’re connected and the strength of the Wi-Fi signal. A solid connection status means you’re good to go, while a weak signal may lead to disruptions during your flight. If your drone displays a weak or unstable connection, consider moving closer to the Wi-Fi source or troubleshooting the connection. Remember, a reliable connection enhances your flying experience and gives you the freedom to explore the skies confidently. Always check these indicators before taking off to avoid any surprises mid-flight.
Troubleshooting Common Connection Issues
When your drone refuses to connect to Wi-Fi, it can be frustrating, but don’t worry—there are several common issues you can check. Start with some connection troubleshooting to pinpoint the problem:
- Check Wi-Fi signal strength: Poor signal can lead to drops. Additionally, ensure that your drone is stored in ideal conditions to minimize wear on its components, which can also affect connectivity.
- Avoid signal interference: Other devices or obstacles might be disrupting the connection.
- Restart your drone and router: A simple reset can often resolve issues.
- Ensure the correct Wi-Fi network is selected: Sometimes, it’s easy to mix up networks.
- Update firmware: Outdated software can affect connectivity. Additionally, ensure that your drone’s communication technology is compatible with your Wi-Fi network, as this can also impact connection stability.
Utilizing Wi-Fi Features for Enhanced Flight
When you connect your drone to Wi-Fi, you activate several features that can enhance your flight experience. You can stream real-time video, access firmware updates, and control your drone remotely. These tools not only improve your flying capabilities but also guarantee your drone stays up-to-date.
Real-time Video Streaming
One of the most exciting features of connecting your drone to Wi-Fi is real-time video streaming, which enhances your flying experience considerably. With this capability, you can explore new perspectives and capture stunning footage effortlessly. The video quality improves dramatically, allowing you to see everything your drone sees.
Here are some benefits of real-time video streaming:
- Instant feedback on your drone’s position
- Enhanced control for maneuvering tricky environments
- Ability to capture high-quality footage live
- Real-time applications for search and rescue missions
- Improved situational awareness while flying
Firmware Updates Availability
Connecting your drone to Wi-Fi not only allows for real-time video streaming but also enables seamless firmware updates, ensuring your equipment stays current and performs at its best. By regularly checking for firmware upgrades, you can enhance your drone’s functionalities, fix bugs, and improve overall software stability. These updates often include new features or optimizations that can elevate your flying experience. Plus, staying updated means you’re less likely to encounter issues mid-flight, giving you the freedom to explore without worry. Simply connect to a Wi-Fi network, follow the prompts in your drone’s app, and watch as your flight capabilities expand. Embrace the freedom of advanced technology and keep your drone flying smoothly with the latest updates.
Remote Control Access
While flying your drone, utilizing Wi-Fi features can considerably enhance remote control access, giving you greater maneuverability and responsiveness. By leveraging these capabilities, you can elevate your drone management experience to new heights. Here’s how:
- Real-time video streaming: Get instant feedback while flying, enhancing your navigation.
- Access to drone settings: Adjust parameters on-the-fly for peak performance.
- Extended range: Control your drone from greater distances without losing connection.
- Software updates: Verify your drone’s firmware is current for the best performance.
- Remote access capabilities: Monitor flight data and access your drone remotely, providing peace of mind.
With these features, you’re not just flying; you’re fully engaged in a liberating aerial experience.
Maintaining Your Drone’s Wi-Fi Connection
To guarantee your drone maintains a stable Wi-Fi connection, regularly check for signal interference and keep your device’s firmware updated. Wi-Fi interference can arise from nearby networks, physical obstacles, or electronic devices. To optimize your signal, consider flying in open areas away from these potential disruptors. Additionally, signal strength is crucial for maintaining a reliable connection; weak signals can lead to navigation errors and reduced flight effectiveness. Before each flight, perform a quick scan for any nearby Wi-Fi networks that could affect your connection. Also, confirm your drone’s antennas are positioned correctly for maximum range. Finally, familiarize yourself with your drone’s settings; many models offer options for channel selection or frequency adjustments that can enhance your connection. Additionally, ensure that your flight operations comply with federal aviation regulations to avoid any potential disruptions. By being proactive about these factors, you’ll enjoy a smoother, more reliable flying experience and freedom to explore the skies.
Frequently Asked Questions
Can I Connect Multiple Devices to My Drone’s Wi-Fi?
Yes, you can connect multiple devices to your drone’s Wi-Fi, but there are drone connectivity limits. Check your drone’s specifications for its maximum device compatibility to guarantee ideal performance while using multiple connections.
What Happens if My Wi-Fi Connection Drops During a Flight?
If your Wi-Fi connection takes a little vacation mid-flight, your drone might lose its link to the controller. This could affect flight stability, so it’s essential to prioritize drone safety and prepare for such scenarios.
Is There a Range Limit for My Drone’s Wi-Fi Connection?
Yes, there’s a range limit for your drone’s Wi-Fi connection. Signal interference and distance factors can reduce connectivity. It’s crucial to stay within ideal range to maintain control and guarantee a smooth flying experience.
Can I Use Public Wi-Fi Networks to Connect My Drone?
You can connect your drone to public Wi-Fi, but be cautious. Public network security can be weak, leading to potential drone connectivity issues and compromising your device. Always prioritize safe networks for the best experience.
How Do I Reset My Drone’s Wi-Fi Settings?
If your drone’s Wi-Fi is acting like it’s stuck in a digital fog, try these reset instructions: power it off, hold the reset button, then restart. This’ll clear any pesky glitches during your drone troubleshooting journey!
