
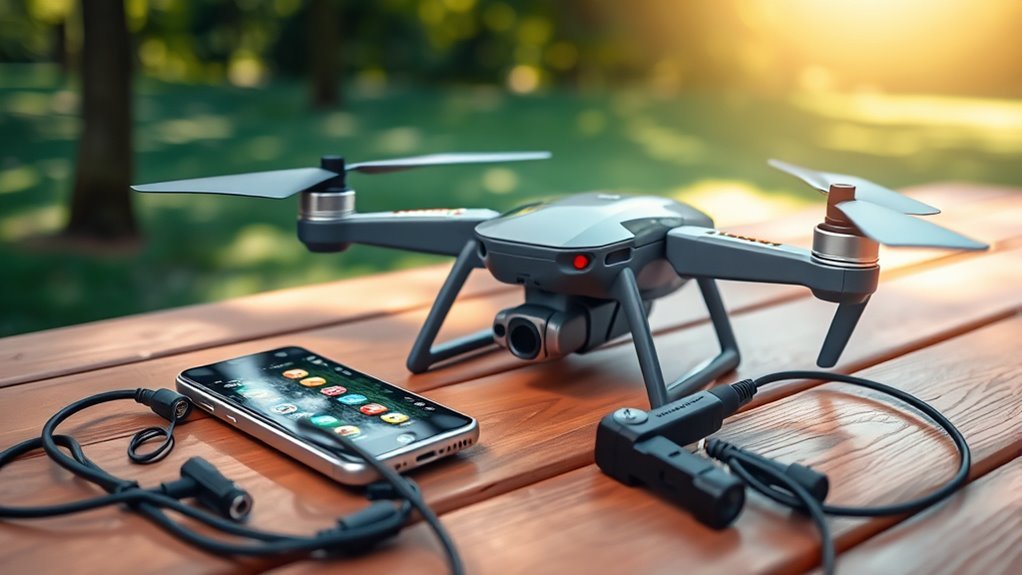
To connect your quadcopter drone with your phone, first gather your equipment and charge both devices. Download the drone’s companion app and verify compatibility. Power on your drone and enable Wi-Fi or Bluetooth on your smartphone. Launch the app, then pair your devices by selecting the drone. Adjust settings for peak performance, including gyroscope calibration and camera tweaks. Once connected, you’re ready to start your aerial adventure, and there’s more to explore for an exceptional flying experience.
Gather Necessary Equipment
To successfully connect your quadcopter drone with your phone, you’ll need a few essential pieces of equipment. First, make sure you have a compatible smartphone with the necessary operating system updates. Next, select the right quad options that support wireless connectivity, such as Wi-Fi or Bluetooth. Check the drone’s specifications to understand its camera features; these will help you maximize your aerial photography capabilities. Additionally, a reliable charging cable is vital for keeping your drone and phone powered. Finally, consider using a secure mount for your phone to avoid distractions while flying. By gathering this equipment, you’ll set the stage for a smooth and efficient connection, allowing you to explore the skies freely. Also, ensure that your drone has advanced camera capabilities to enhance the quality of your aerial shots. Furthermore, having a drone that offers high-quality camera capabilities will significantly improve your photography and videography experience.
Download the Drone’s Companion App

To control your quadcopter effectively, you’ll need to download its companion app from your device’s app store. Start by locating the app using the search function, then follow the installation process to set it up on your phone. This app is essential for accessing features and functionalities specific to your drone model.
App Store Availability
Most modern quadcopter drones require a companion app for seamless operation and enhanced functionality. To get started, you’ll need to explore your app store options, whether you’re using iOS or Android. Simply search for your drone model’s specific app, as many manufacturers offer tailored solutions for peak performance. Before downloading, check app store reviews to gauge user experiences and identify any potential issues. High ratings often indicate a reliable app that can help you access features like real-time telemetry, camera controls, and flight planning. Once you’ve selected the right app, you’re one step closer to enjoying the freedom of flying your drone with your phone, ensuring a more connected and intuitive flying experience.
Installation Process Steps
Downloading your drone’s companion app is a straightforward process that sets the foundation for controlling your quadcopter effectively. Start by searching for the app in your device’s app store; verify you’re downloading the official version. Once downloaded, open the app and follow the on-screen instructions for installation.
If you encounter any installation challenges, double-check your internet connection and app permissions. Restarting your device can also resolve minor issues. After installation, connect your phone to the drone’s Wi-Fi network as prompted.
For any persistent problems, refer to the app’s troubleshooting tips section. By following these steps, you’ll enhance your flying experience and release the full potential of your quadcopter. Enjoy the freedom of flight!
Charge Your Drone and Smartphone

Before you can connect your quadcopter drone with your phone, ensuring both devices are fully charged is essential for top performance. Start by checking the battery levels of both your drone and smartphone. For ideal battery maintenance, always use the manufacturer’s recommended charger. Avoid overcharging; unplug the drone once it reaches 100%. For smartphones, charging overnight can lead to battery degradation over time. Instead, employ quick charging techniques when possible. If you plan to fly, consider charging your devices to at least 80% for a reliable experience. Always keep spare batteries on hand for your drone, ensuring longer flight times without interruptions. Following these charging tips helps you maximize your freedom in the skies.
Power On Your Quadcopter Drone
To power on your quadcopter drone, first, locate the power button, typically found on the body of the device. Make certain that the battery is charged adequately before attempting to turn it on. Once activated, check the LED indicator status to confirm that the drone is ready for operation.
Locate Power Button
Once you’ve confirmed your quadcopter drone is assembled and ready for flight, locating the power button is vital for powering it on. The power button locations can vary depending on the model, but it’s typically found on the body or under a protective cover. Familiarizing yourself with its functions is essential to guarantee a seamless start.
| Location | Function |
|---|---|
| Top of the drone | Powers the drone on/off |
| Side of the drone | Initiates flight mode |
| Underneath | Resets the drone |
| Remote Controller | Syncs with the drone |
Be sure to check your user manual for specifics on your model. Finding the power button is the first step toward enjoying the freedom of flight.
Ensure Battery Charged
After locating the power button on your quadcopter drone, the next step is to guarantee that its battery is fully charged. To do this, plug your drone into a compatible charger, making sure you follow the manufacturer’s guidelines for ideal battery maintenance. It’s essential to check the charging port for debris before connecting, as this can affect performance. Use smart charging tips, like avoiding overcharging and letting the battery cool down after use, to prolong its lifespan. Always monitor the battery’s health regularly; a well-maintained battery guarantees your drone operates effectively. Once you confirm a full charge, you’re ready for takeoff, giving you the freedom to explore the skies with confidence.
LED Indicator Status
The LED indicator on your quadcopter drone serves as an essential communication tool, providing real-time status updates on its power and connectivity. Understanding LED functionality is vital for maximizing your flying experience. When you power on your drone, a solid green light typically signifies that it’s ready for flight, while a flashing red light may indicate low battery or a connectivity issue. Each color and pattern has specific indicator meanings, so familiarize yourself with your drone’s manual for precise interpretations. If you see a steady blue light, that usually means the drone is connected to your device. By monitoring these LED signals, you can guarantee peak performance and enjoy your aerial adventures with confidence.
Enable Bluetooth or Wi-Fi on Your Smartphone
Before connecting your quadcopter drone to your smartphone, you’ll need to guarantee that Bluetooth or Wi-Fi is enabled on your device. Start by accessing your phone’s settings. For Bluetooth connectivity, locate the Bluetooth option and toggle it on; this allows your smartphone to discover the drone. If your drone connects via Wi-Fi, navigate to the Wi-Fi settings, ensuring you select the appropriate network. Keep in mind Wi-Fi security by connecting only to trusted networks to prevent unauthorized access. After enabling either option, your phone will be ready to communicate with your drone. This step is essential for a seamless flying experience, giving you the freedom to control your quadcopter effectively.
Connect to Your Drone’s Network
With Bluetooth or Wi-Fi enabled on your smartphone, you can now connect to your drone’s network. Look for your drone’s specific Wi-Fi name in the available networks list on your device. Select it, and enter the password if prompted. Once connected, you should see a confirmation. If you encounter any drone connectivity issues, consider these troubleshooting steps:
| Step | Action |
|---|---|
| Check Wi-Fi Status | Confirm Wi-Fi is enabled |
| Restart Devices | Power cycle your drone/phone |
| Recheck Password | Verify the correct password |
| Move Closer | Reduce distance to drone |
| Update Firmware | Confirm both are up-to-date |
This process confirms a smooth connection, enhancing your flying experience. Additionally, ensure that your drone’s obstacle avoidance technology is functioning correctly to improve safety during flights. For a safer flying experience, always be aware of local drone regulations that may affect your operation.
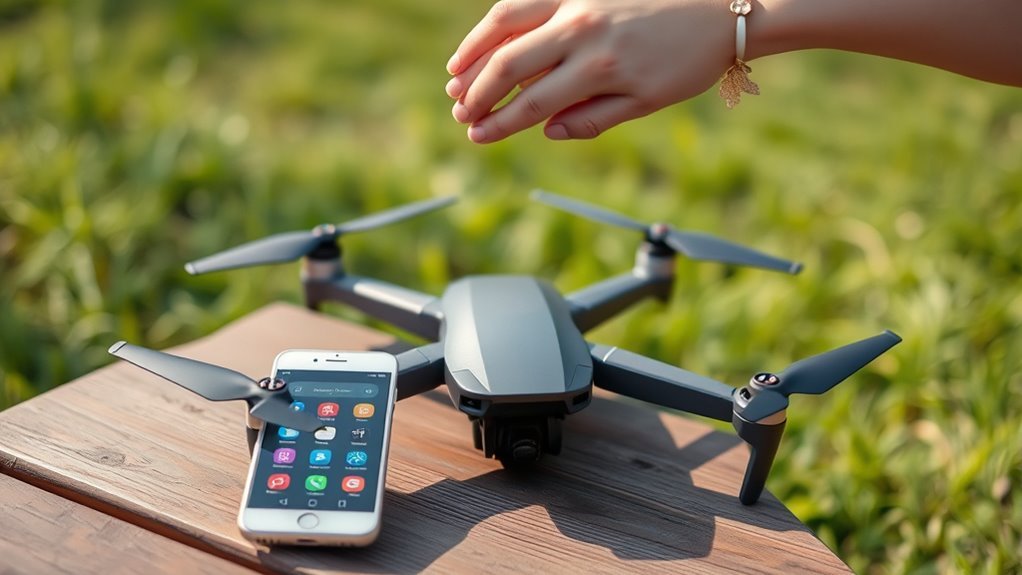
Launch the Companion App
Once you’ve established a connection between your smartphone and the drone, it’s essential to launch the companion app designed for your specific model. This app serves as your control hub, activating various launch features and enhancing app functionality.
Here’s what to do:
- Open the app: Locate the icon on your device and tap it to initiate the connection.
- Allow permissions: Confirm you grant necessary permissions for peak performance, like location access.
- Familiarize with the interface: Navigate through the app to understand its layout and features, assuring a smooth flying experience. Additionally, the app may offer features like advanced controls that enhance your flying experience and help you make the most of your drone’s capabilities.
Pair Your Devices
To successfully pair your drone with your phone, you’ll need to start by checking the compatibility requirements for both devices. Make sure Bluetooth is enabled on your phone to facilitate the connection. Once that’s set, follow the specific pairing instructions provided in the companion app for a seamless setup.
Check Compatibility Requirements
Before you attempt to connect your quadcopter drone with your phone, it’s essential to check the compatibility requirements to guarantee both devices can communicate effectively. A thorough compatibility check guarantees that you won’t run into issues during your flight.
Here’s what you should verify:
- Device Specifications: Check your drone’s manual for the required operating system and app compatibility.
- Connection Type: Verify your phone supports Wi-Fi or Bluetooth, as needed by your drone.
- App Availability: Confirm that the relevant app is available for download on your phone’s app store.
Enable Bluetooth Settings
While you prepare to connect your quadcopter drone to your phone, enabling Bluetooth settings is an essential step in the pairing process. Start by accessing your phone’s settings and locating the Bluetooth option. Toggle the Bluetooth switch to the “on” position. This will make your phone discoverable to nearby devices, including your drone. If you encounter any issues, consult Bluetooth troubleshooting guides to guarantee smooth connectivity. Remember to prioritize Bluetooth security by avoiding connections with unknown devices to protect your sensitive information. Once Bluetooth is enabled and your drone is powered on, you’re ready for the next step in pairing your devices. With these settings in place, you’ll enjoy a seamless flight experience with your drone.
Follow Pairing Instructions
With Bluetooth successfully enabled on your phone, you can now proceed to pair your devices. Follow these pairing techniques to establish a connection with your quadcopter drone:
- Open the drone app: Launch the companion app on your phone. Verify it’s compatible with your drone model.
- Select the drone: In the app, find and select your drone from the list of available devices. This should initiate the pairing process.
- Confirm pairing: Follow any prompts on both your phone and drone. If you encounter issues, refer to troubleshooting tips, such as restarting both devices or checking for firmware updates.
Adjust Settings for Optimal Performance
To guarantee your quadcopter drone operates at its best, it’s essential to adjust the settings according to your flying conditions and preferences. Start by calibrating the gyroscope to confirm stable flight; this is vital for peak flight performance. Next, tweak the sensitivity settings for the controls; higher sensitivity allows quicker response but may require practice. For performance tuning, assess battery management options to maximize flight time. Additionally, be aware of federal aviation regulations that govern drone operations, as they can influence your flight planning. Adjust the camera settings if your drone has one, as this can impact image quality during flights. Finally, consider environmental factors, like wind speed, and adjust the flight mode accordingly. By fine-tuning these settings, you’ll enhance your drone’s capabilities, giving you the freedom to explore the skies with confidence. Additionally, understanding the impact of signal attenuation on your drone’s range can help you make informed adjustments for optimal performance in various conditions.
Start Your Aerial Adventure
Once you’ve confirmed that your drone is properly set up and calibrated, you’re ready to commence your aerial adventure. To guarantee a successful flight, keep these essential steps in mind:
- Familiarize Yourself with Drone Regulations: Check local laws regarding drone usage to avoid fines or restrictions.
- Select Your Flight Area: Choose a wide-open space, free of obstacles, ideal for capturing stunning aerial photography.
- Plan Your Flight Path: Consider the angles and heights that will maximize your shots, ensuring you capture the beauty of the landscape below. Additionally, ensure that you maintain visual line of sight to adhere to safety protocols and enjoy a smooth flying experience.
Frequently Asked Questions
Can I Connect Multiple Devices to My Drone Simultaneously?
Imagine a symphony, where multiple instruments harmonize. Similarly, while some drones allow multi-device connections, not all apps support that. Check your drone app compatibility; you’ll find your options vary widely, impacting your flying experience.
What to Do if My Drone Doesn’t Appear in the App?
If your drone doesn’t appear in the app, check for connection failure and verify app compatibility with your device. Restart both your drone and phone, and confirm Bluetooth or Wi-Fi settings are properly configured.
How Can I Troubleshoot Connection Issues Between My Drone and Phone?
To troubleshoot connection issues, verify app compatibility with your drone’s firmware. Try a connection reset, restarting both devices. Check for interference, and if necessary, reinstall the app to enhance connectivity and regain that flying freedom.
Is It Safe to Fly My Drone Indoors?
Flying a drone indoors can feel like dancing with the wind, but safety precautions are essential. Make sure you’ve ample space, avoid obstacles, and keep an eye on battery life for a secure indoor flying experience.
What Are the Legal Restrictions for Flying Drones in My Area?
You need to check local drone regulations and airspace restrictions before flying. Each area has unique rules, so make sure you’re aware of any no-fly zones or altitude limits to maintain your freedom and safety.
