
Yes, you can make a drone with a 3D printer! With the right design, materials, and components, 3D printing offers a unique way to create custom drones tailored to your specifications. This innovative approach allows hobbyists and engineers alike to explore the possibilities of drone construction, leading to enhanced customization and improved performance. In this article, we will guide you through the entire process of building a 3D-printed drone, including the essential components, design considerations, assembly instructions, and troubleshooting tips.
Understanding 3D Printing Technology

3D printing has revolutionized the manufacturing landscape, allowing for rapid prototyping and customization across various industries. The most commonly used techniques for creating drone components are Fused Deposition Modeling (FDM) and Stereolithography (SLA).
FDM, the most prevalent technique, involves melting plastic filament and extruding it layer by layer to build a 3D object. This method is particularly advantageous for creating lightweight structures, making it ideal for drone frames. On the other hand, SLA employs a laser to cure liquid resin into solid objects, resulting in higher precision and smoother finishes, which can be beneficial for intricate parts like propellers.
Using 3D printing for drone components offers significant advantages, including customization, rapid prototyping, and cost-effectiveness. Customization allows you to create parts that are specifically designed for your drone’s needs, enhancing aerodynamics and functionality. Rapid prototyping means you can quickly iterate on designs, testing new concepts without the overhead of traditional manufacturing processes.
Essential Components of a 3D Printed Drone
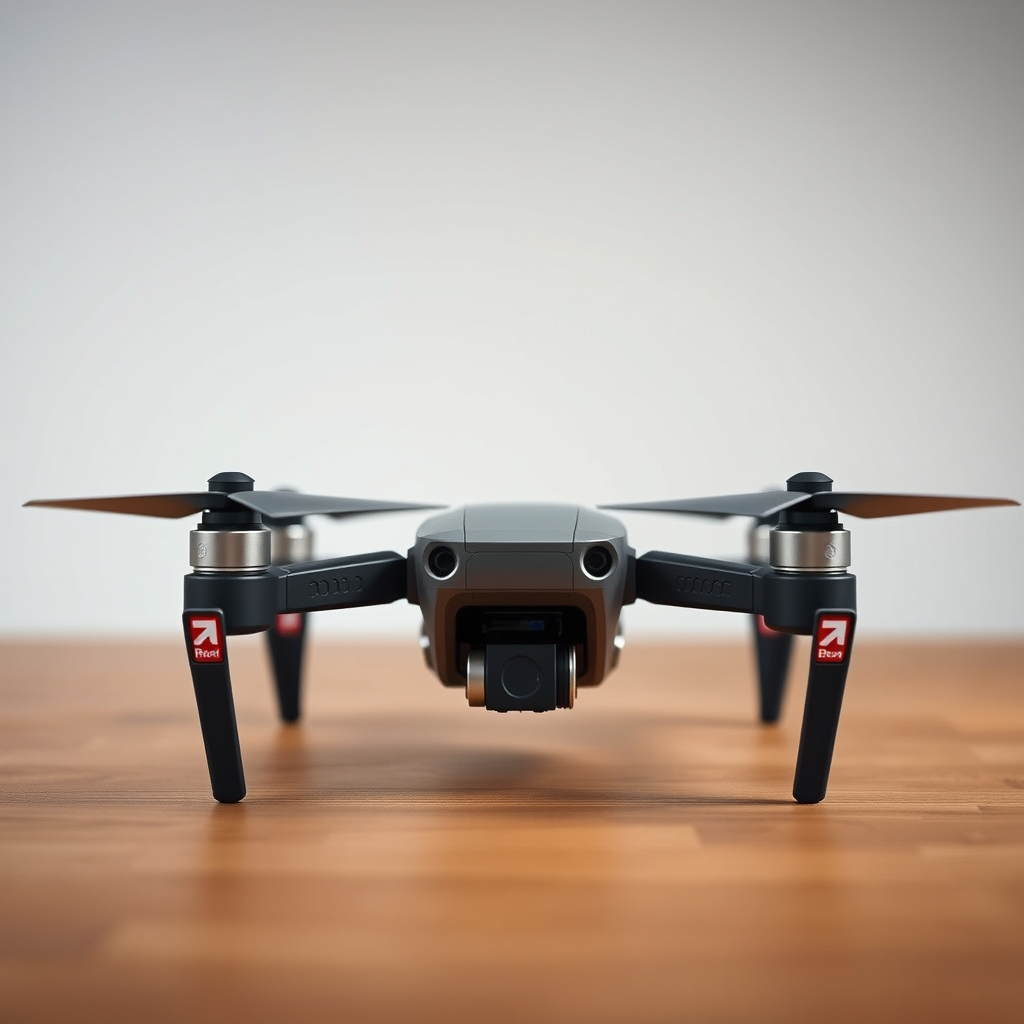
To build a functional drone, several essential components must be gathered, many of which can be 3D printed. The primary parts include:
– Frame: The structure that holds all components together.
– Propellers: Critical for generating lift and thrust.
– Landing Gear: Provides stability during takeoff and landing.
– Motor Mounts: Secure the motors to the frame.
– Battery Holder: Ensures the battery is safely mounted.
Selecting the right materials for these components is crucial. Common choices include:
– PLA (Polylactic Acid): Easy to print and biodegradable, but may not withstand high stress.
– ABS (Acrylonitrile Butadiene Styrene): Offers better durability and impact resistance, making it suitable for outdoor use.
– Nylon: Known for its strength and flexibility, ideal for parts that require high durability.
Choosing the appropriate materials can significantly affect the drone’s performance, weight, and lifespan.
Designing Your Drone Model
When it comes to designing your drone model, several software options are available that cater to varying skill levels. Popular choices include:
– Fusion 360: A powerful CAD tool favored for its advanced features and comprehensive design capabilities, ideal for experienced users.
– Tinkercad: A user-friendly, browser-based application perfect for beginners to create simple designs quickly.
To optimize your designs for 3D printing, consider the following tips:
– Weight Reduction: Design hollow structures where possible to minimize weight without sacrificing strength.
– Structural Integrity: Incorporate ribbing or fillets in your designs to distribute stress and enhance durability.
– Assembly Considerations: Design parts that can be easily assembled and disassembled for maintenance or upgrades.
Effective design is pivotal in ensuring that your drone not only functions well but also performs optimally.
Assembling the 3D Printed Drone
Once you have printed all the necessary components, the next step is assembly. Follow these step-by-step instructions:
1. Attach Motors: Securely fasten the motors to the designated mounts on the frame using screws or adhesive.
2. Wiring: Connect the motors to the flight controller, ensuring all wires are neatly routed to avoid interference with moving parts.
3. Install the Flight Controller: Mount the flight controller in a location that minimizes exposure to vibrations.
4. Battery and Electronics: Secure the battery in its holder and connect it to the flight controller. Make sure all electronic components are firmly in place.
5. Install Propellers: Attach the propellers to the motors, ensuring they are positioned correctly for optimal airflow.
After assembly, calibrating the drone is crucial. This involves configuring the flight controller settings and performing a pre-flight check to ensure everything is functioning as intended. Testing the drone in a controlled environment will help identify any issues before outdoor flights.
Adding Electronics and Software
Integrating electronics is a vital step in drone construction. Essential components include:
– Flight Controller: The brain of the drone, responsible for stabilizing flight.
– Battery: Provides power; consider lithium polymer (LiPo) batteries for their high energy density.
– GPS Module: Enables navigation and positioning capabilities.
For software, options like ArduPilot and Betaflight are popular choices. These platforms allow you to program your drone’s flight characteristics, including altitude hold, waypoint navigation, and more. Familiarizing yourself with these software tools will enable you to fully harness the capabilities of your drone.
Troubleshooting Common Issues
Building a 3D printed drone can come with its set of challenges. Some common problems include:
– Weight Distribution: Uneven weight can lead to unstable flight. Ensure that components are balanced and consider adjusting the placement of the battery and electronics.
– Flight Stability: If the drone wobbles or does not respond well, recalibrating the flight controller and adjusting PID settings may be necessary.
To effectively troubleshoot these issues, maintain detailed records of your design and assembly process. This will help you identify potential areas for improvement and make necessary adjustments.
Safety Considerations and Regulations
Flying a drone comes with responsibilities. Adhering to safety practices is essential for protecting both the operator and those around them. Key safety practices include:
– Pre-Flight Checks: Always conduct thorough inspections before flying.
– Flying in Open Areas: Avoid crowded places and ensure you have ample space for takeoff and landing.
Additionally, familiarize yourself with local regulations. Many countries have specific guidelines regarding drone operation, including altitude limits and no-fly zones. Staying informed about these regulations will help ensure safe and legal drone operation.
In conclusion, making a drone with a 3D printer is not only feasible but also an exciting project for hobbyists and tech enthusiasts. With the right tools, designs, and knowledge, you can create a custom drone that meets your needs and preferences. By following the steps outlined in this article, you can embark on your 3D printing journey and explore the skies with your very own creation.
Frequently Asked Questions
Can you make a fully functional drone using a 3D printer?
Yes, you can create a fully functional drone using a 3D printer, but it requires careful planning and design. Most 3D printed drones consist of a printed frame, while other essential components like motors, propellers, electronic speed controllers, and batteries must be purchased separately. By utilizing 3D modeling software and a compatible printer, enthusiasts can customize the drone’s size and shape to meet specific needs.
What materials are best for 3D printing a drone?
The best materials for 3D printing a drone frame include PLA, ABS, and carbon fiber-infused filaments. PLA is easy to print and provides decent strength, while ABS offers better durability and heat resistance. For advanced users, carbon fiber filaments provide excellent rigidity and lightness, making them ideal for high-performance drones. Each material has its pros and cons, so choosing the right one depends on the intended use and flight conditions.
How do I design a drone for 3D printing?
To design a drone for 3D printing, start by defining the specifications such as size, weight, and payload capacity. Use CAD software like Autodesk Fusion 360 or Tinkercad to create a model, ensuring to include mounting points for electronic components. It’s crucial to incorporate features that enhance aerodynamics and structural integrity, such as ribbing or honeycomb patterns. Additionally, check online repositories for existing drone designs that can be modified to suit your needs.
Why should I 3D print a drone instead of buying one?
3D printing a drone offers several advantages over purchasing a pre-built model. Customization is a significant benefit, allowing hobbyists to tailor the drone’s design to fit specific applications or aesthetics. Moreover, 3D printing can be more cost-effective in the long run, especially for creating unique parts or repairs. It also provides a valuable learning experience in aerodynamics, electronics, and robotics, empowering makers to innovate in their drone projects.
Which 3D printers are best for printing drone parts?
The best 3D printers for printing drone parts typically include FDM (Fused Deposition Modeling) printers that can handle various filaments. Popular options include the Prusa i3 MK3S+, Creality Ender 3, and Anycubic Mega-S, all of which offer good build quality and reliability. For those looking to use advanced materials like carbon fiber, consider printers with an all-metal hotend and a heated bed, such as the Raise3D Pro2 or the Ultimaker S3.
References
- https://en.wikipedia.org/wiki/3D_printing
- https://www.sciencedirect.com/science/article/pii/S221486042030301X
- https://www.ncbi.nlm.nih.gov/pmc/articles/PMC7317009/
- https://www.aaai.org/ojs/index.php/aimagazine/article/view/2736
- https://www.wired.com/story/how-to-make-a-drone-with-a-3d-printer/
- https://www.techrepublic.com/article/how-3d-printing-is-revolutionizing-drone-manufacturing/
- https://www.darpa.mil/news-events/2020-02-06
- https://www.nasa.gov/feature/3d-printing-a-drone-in-a-day
- https://www.autodesk.com/redshift/3d-printing-drones/
