
Yes, you can definitely build a drone at home with the right materials and knowledge. This guide will walk you through the essential components, steps, and tips for creating your own drone. Whether you are a hobbyist looking to explore the world of unmanned aerial vehicles or a tech-savvy individual interested in a DIY project, building a drone can be an exciting and educational experience.
Understanding Drone Basics

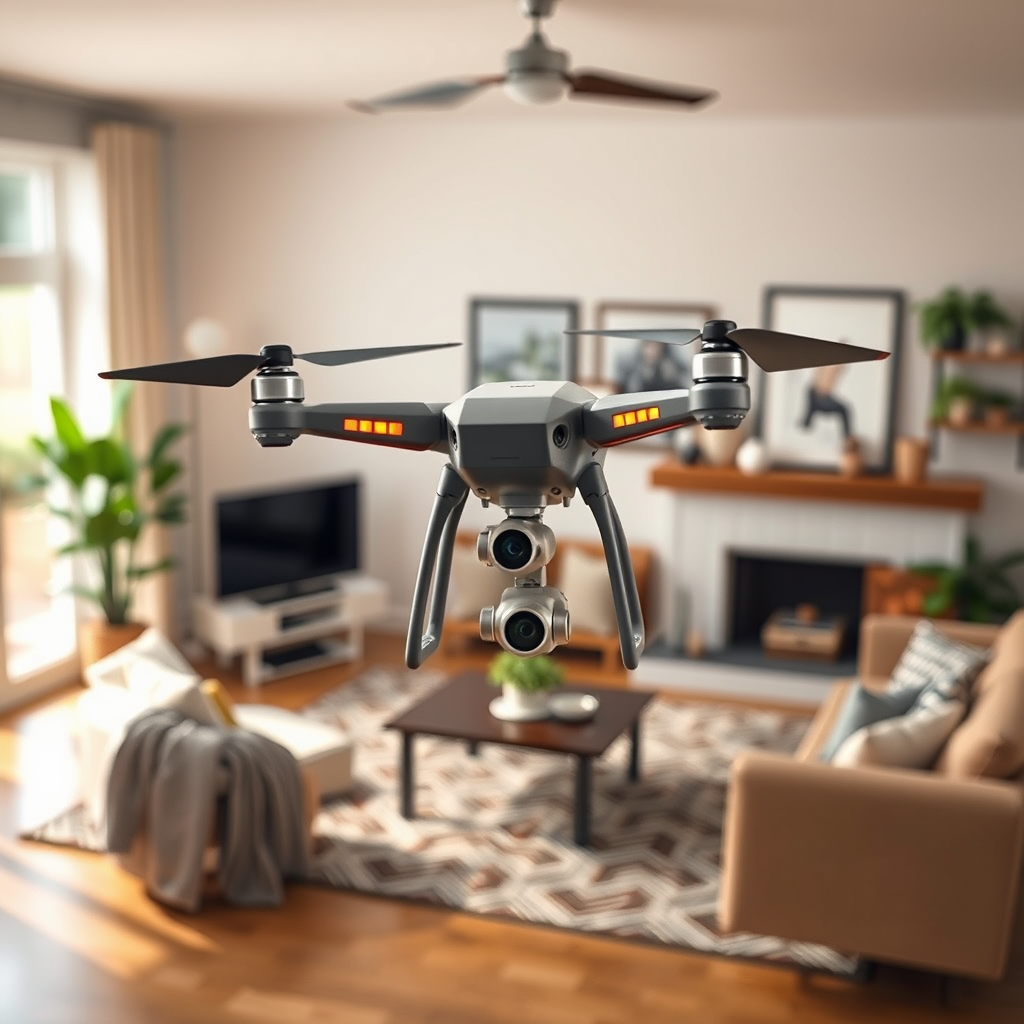
Before embarking on your drone-building journey, it is crucial to understand the different types of drones available. The most common type is the quadcopter, which features four rotors and is favored for its stability and ease of control. Other configurations include hexacopters, with six rotors for enhanced lifting capacity, and octocopters, which offer redundancy in case of motor failure. Each type has distinct advantages and is suited for various applications, from aerial photography to racing.
Familiarizing yourself with the basic components of a drone is essential. The frame acts as the drone’s structure, housing all other parts. Motors provide the necessary thrust, while propellers convert that thrust into lift. The battery serves as the power source, and the flight controller acts as the brain of the drone, processing input from various sensors and translating it into motor commands. Understanding these components will help you make informed decisions during the construction process.
Essential Materials and Tools
To build a drone, you’ll need specific materials. Here’s a list of essential components:
1. Frame: Can be purchased or built from materials like carbon fiber or plastic.
2. Motors: Brushless motors are recommended for their efficiency and performance.
3. Propellers: The size and pitch of the propellers must match the motors for optimal performance.
4. Flight Controller: This is the core of the drone, responsible for stabilizing flight.
5. Battery: LiPo (Lithium Polymer) batteries are commonly used due to their high energy density.
6. Electronic Speed Controllers (ESCs): These regulate the power to the motors.
7. Transmitter and Receiver: For remote control, choose a compatible transmitter with sufficient range.
In addition to materials, you’ll need specific tools for assembly:
– Soldering Iron: For connecting wires and components securely.
– Screwdriver Set: For assembling the frame and attaching components.
– Heat Shrink Tubing and Electrical Tape: For insulating connections.
– Multimeter: To test electrical connections and battery voltage.
Having these materials and tools ready will streamline your building process.
Step-by-Step Assembly Instructions
Assembling your drone involves a series of detailed steps:
1. Build the Frame: Start with the frame. If you purchased a pre-made frame, follow the manufacturer’s instructions. If you’re building one, ensure it is sturdy yet lightweight.
2. Attach the Motors: Secure the motors to the designated areas on the frame using screws. Make sure to orient them in the correct direction to facilitate proper flight.
3. Install the ESCs: Connect the ESCs to each motor. Solder the wires carefully, ensuring a solid connection to avoid any electrical issues.
4. Mount the Flight Controller: Place the flight controller at the center of the frame for balance. It should be securely fastened and level to ensure accurate sensor readings.
5. Connect the Battery: Attach the battery to the frame using straps or velcro. Ensure that the power connection is secure and easily accessible for charging.
6. Wiring and Connections: Double-check all wiring for proper connections. Use heat shrink tubing or electrical tape to insulate any exposed wires.
7. Propellers: Finally, attach the propellers to the motors. Ensure they are mounted securely and rotate freely.
Throughout the assembly process, take your time and refer to online tutorials or drone-building communities for additional guidance.
Programming and Calibration
Once your drone is assembled, the next step is programming and calibrating it for optimal flight performance. Common software used for programming drones includes Betaflight, ArduPilot, and PX4. These platforms allow you to configure flight settings and adjust performance parameters.
To calibrate your drone, follow these steps:
1. Initial Setup: Connect your flight controller to your computer and open the configuration software. Follow the prompts to set up your drone’s parameters.
2. Calibrate Sensors: Most flight controllers require sensor calibration, including gyroscope and accelerometer calibration. Follow the software instructions to complete this process accurately.
3. Radio Calibration: Ensure your transmitter is correctly calibrated to communicate with your drone. This involves setting the endpoints and ensuring all channels are functioning properly.
4. Test Flights: Conduct test flights in a controlled environment, making adjustments to settings as needed to improve flight stability and responsiveness.
Safety Considerations and Regulations
Safety should be a top priority when building and flying drones. Here are some essential safety tips:
– Always conduct pre-flight checks to ensure all components are functioning correctly.
– Fly in open areas away from people, animals, and obstacles to minimize risk.
– Avoid flying in adverse weather conditions, such as strong winds or rain.
– Ensure your drone is equipped with fail-safe measures to prevent accidents.
Moreover, familiarize yourself with local regulations governing drone usage. Many countries have specific guidelines regarding altitude limits, no-fly zones, and registration requirements for drones. Adhering to these regulations will not only ensure your safety but also the safety of others.
Troubleshooting Common Issues
Even experienced builders encounter issues during assembly or flight. Here are some common problems and their solutions:
– Drone Won’t Take Off: Check the battery voltage and ensure all motors are functioning. Inspect the propeller direction and ensure they are installed correctly.
– Unstable Flight: This can be caused by improper calibration or weight distribution. Recalibrate your sensors and check that components are securely attached.
– Loss of Signal: Ensure your transmitter and receiver are properly bound and that there are no physical obstructions interfering with the signal.
Utilizing online forums and communities can also provide valuable insights into troubleshooting your drone effectively.
Enhancing Your Drone Experience
Once you’ve built and mastered flying your drone, consider enhancing its capabilities with additional features:
– Camera: Adding a camera can transform your drone into a powerful tool for aerial photography or videography. Choose a lightweight option to maintain flight efficiency.
– GPS Module: Incorporating a GPS module allows for advanced navigation features, including waypoint flying and return-to-home functions.
– FPV (First Person View) Systems: Equip your drone with an FPV system to experience real-time video feedback during flights, making it ideal for racing and exploration.
Additionally, numerous resources are available for further learning about drone technology and flying techniques. Online courses, community forums, and YouTube channels dedicated to drone enthusiasts can offer valuable insights and tutorials.
Building a drone at home is not only feasible but also a rewarding project for enthusiasts. With the right guidance and resources, you can create a functional drone that meets your needs. Start your drone-building journey today!
Frequently Asked Questions
What materials do I need to build a drone at home?
To build a drone at home, you’ll typically need a frame, motors, electronic speed controllers (ESCs), a flight controller, a battery, and a radio transmitter with a receiver. Common materials include lightweight plastic or carbon fiber for the frame, brushless motors for propulsion, and lithium polymer batteries for power. Additionally, you’ll want some basic tools like a soldering iron, wire cutters, and a screwdriver to assemble your drone effectively.
How difficult is it to make a drone from scratch?
Making a drone from scratch can range from moderately easy to quite challenging, depending on your experience with electronics and aerodynamics. Beginners might find it easier to start with a drone kit that includes pre-selected components and instructions. However, if you’re willing to learn about each component and how they work together, building a drone from scratch can be a rewarding project that enhances your understanding of technology and engineering.
Why would I want to build my own drone instead of buying one?
Building your own drone allows for customization and a deeper understanding of how drones work. You can select components that meet your specific needs, whether for photography, racing, or recreational flying. Additionally, DIY drones can be more cost-effective than purchasing pre-assembled models and can offer a unique sense of accomplishment when you successfully build and fly your creation.
Which drone kits are best for beginners looking to build a drone at home?
Some of the best drone kits for beginners include the Holy Stone HS720, the DJI Tello, and the Eachine E511S. These kits typically come with all necessary components and user-friendly instructions, making them ideal for those new to drone building. They also provide a good balance of performance and ease of use, allowing beginners to gain confidence before moving on to more complex projects.
How can I ensure my homemade drone is safe and compliant with regulations?
To ensure your homemade drone is safe and compliant with regulations, first familiarize yourself with local laws regarding drone flight, including registration requirements and no-fly zones. Additionally, make sure to conduct thorough pre-flight checks, including battery safety, secure connections, and firmware updates. Investing in quality components and following best practices in assembly will further enhance safety and performance, ensuring a reliable flying experience.
References
- https://en.wikipedia.org/wiki/Drone
- https://www.nasa.gov/mission_pages/tdm/education/drones.html
- https://www.faa.gov/uas/getting_started/
- https://www.arduino.cc/en/Guide/ArduinoDrone
- https://www.sciencedirect.com/science/article/pii/S221457451500022X
- https://www.usnews.com/education/blogs/college-admissions-playbook/articles/2020-01-21/how-to-build-a-drone-from-scratch
- https://www.instructables.com/id/How-to-Build-a-Drone/
- https://www.techrepublic.com/article/how-to-build-a-drone-from-scratch/