
Yes, you can make a drone using Arduino! This DIY project allows you to create a custom drone tailored to your needs. With the right components, assembly techniques, and programming knowledge, you can design a drone that meets your specific requirements, whether for recreational flying, aerial photography, or educational purposes. In this comprehensive guide, we’ll explore the essential components required, the assembly process, and programming essentials that will empower you to build your own Arduino drone.
Understanding the Basics of Drones

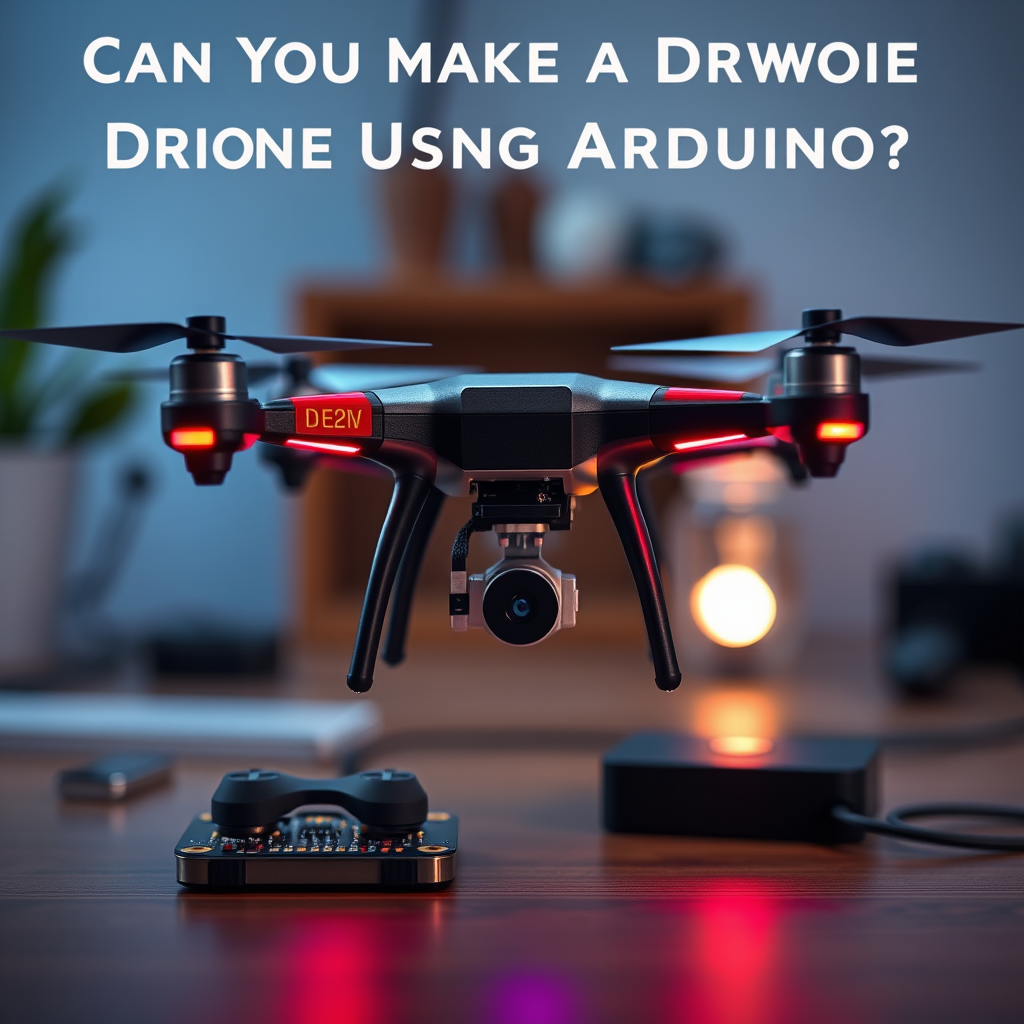
A drone, also known as an unmanned aerial vehicle (UAV), is an aircraft that operates without a human pilot onboard. Drones are composed of several key components: the frame, motors, propellers, electronic speed controllers (ESCs), a flight controller, and various sensors such as gyroscopes and accelerometers. The integration of technology, such as Arduino, allows for customizable and programmable flight control systems, making it an excellent choice for DIY drone enthusiasts. By using Arduino, hobbyists can develop tailored software to manage flight dynamics, enhance stability, and incorporate additional features like GPS navigation and live video streaming.
Essential Components for Your Arduino Drone
To build an Arduino drone, you will need several essential hardware components. Below is a list of the necessary items:
1. Frame: A lightweight structure that supports all other components. You can purchase a pre-made frame or create a custom one using materials like carbon fiber or aluminum.
2. Motors: Brushless motors are commonly used for drones due to their efficiency and power. Select motors suitable for your drone size and weight.
3. Propellers: Choose propellers that match your motors; typically, a drone will use a combination of two clockwise (CW) and two counter-clockwise (CCW) rotating propellers.
4. Electronic Speed Controllers (ESCs): These devices regulate the speed of the motors based on signals from the flight controller.
5. Flight Controller: An Arduino board, such as the Arduino Uno or Arduino Mega, can be programmed to act as the flight controller. This is the brain of your drone.
6. Sensors: Gyroscopes, accelerometers, and barometers help stabilize the drone and provide data on orientation and altitude.
7. Battery: A lithium polymer (LiPo) battery is preferred due to its high energy density and lightweight properties.
8. Transmitter and Receiver: These components allow you to control the drone remotely. A 2.4 GHz radio system is commonly used for reliable communication.
In addition to these components, you may also consider accessories such as a GPS module for navigation, a camera for aerial photography, and LED lights for visibility during night flights.
Designing the Drone Frame
The design of your drone frame is crucial for both performance and aesthetics. When selecting or building a frame, keep the following tips in mind:
– Material Selection: Opt for lightweight yet durable materials. Carbon fiber is highly recommended for its strength-to-weight ratio, while plastic frames can be a cost-effective alternative for beginners.
– Size and Configuration: The size of your drone will depend on its intended use. For racing drones, a smaller frame is ideal, while larger frames are better for carrying cameras or additional equipment. Common configurations include quadcopters (four motors), hexacopters (six motors), and octocopters (eight motors).
– Weight Distribution: Ensure that the weight is evenly distributed across the frame to maintain stability during flight. Position heavier components, like batteries, centrally and as low as possible to lower the center of gravity.
– Aerodynamics: Design the frame to minimize air resistance. Streamlined shapes will enhance flight efficiency and battery life.
Wiring and Assembly
Once you have gathered your components and designed the frame, it’s time to assemble your drone. Follow these step-by-step instructions for connecting the components:
1. Attach the Motors: Securely mount the motors onto the frame according to the motor configuration (CW and CCW).
2. Connect the ESCs: Each motor should be connected to its corresponding ESC, which will control the motor speed. Make sure to solder the connections properly for a secure fit.
3. Install the Flight Controller: Position the Arduino board at the center of the frame to maintain balance. Connect the ESCs to the flight controller using the designated pins.
4. Integrate Sensors: Connect the gyroscope and accelerometer to the Arduino board to provide real-time data for stabilization.
5. Connect the Receiver: Wire the receiver to the flight controller to establish communication between the transmitter and drone.
Common wiring mistakes to avoid include improper soldering techniques, creating short circuits, and neglecting to secure connections, which can lead to malfunctions during flight. Double-check all connections before powering up your drone.
Programming the Arduino
Programming your Arduino flight controller is essential for controlling the drone’s flight behavior. You will typically use the Arduino Integrated Development Environment (IDE) to write and upload code. Some common programming languages and libraries used include:
– C/C++: The primary language for Arduino programming, offering flexibility and control.
– MultiWii or ArduPilot Libraries: These libraries simplify the programming process by providing pre-built functions for flight control.
A sample code snippet for basic flight control might look like this:
“`c
#include
#include
MPU6050 mpu;
void setup() {
Serial.begin(115200);
mpu.initialize();
}
void loop() {
int16_t ax, ay, az;
mpu.getAcceleration(&ax, &ay, &az);
// Control logic for stabilization goes here
}
“`
This code initializes the MPU6050 sensor and begins reading acceleration data, which can be used to stabilize flight. As you become more familiar with programming, you can add advanced features like automated takeoff and landing, GPS waypoints, and altitude hold.
Testing and Calibration
Before taking your drone for its first flight, it is vital to perform testing and calibration to ensure everything functions correctly. Here are some guidelines for initial flight tests:
1. Ground Tests: With the drone secured, power it on and check that the motors respond properly to the transmitter controls. Look for any unusual vibrations or noises.
2. Sensor Calibration: Calibrate your sensors to establish a baseline for accurate performance. This may involve adjusting settings in the Arduino code or using calibration tools.
3. Initial Flight Test: Conduct the first flight in a spacious, open area with minimal wind. Start with short and low flights to gauge stability and responsiveness.
4. Adjustments: Based on flight performance, you may need to tweak the programming or adjust component placements to optimize stability and control.
Troubleshooting Common Issues
During the flight testing phase, you may encounter common issues. Here are some potential problems and their solutions:
– Drone Not Responding: Check the power supply and ensure that the battery is fully charged. Verify that all connections are secure.
– Unstable Flight: This could be due to incorrect calibration, uneven weight distribution, or faulty sensors. Recalibrate and check the physical assembly.
– Communication Loss: If the drone loses connection with the transmitter, check the receiver connections and ensure that the transmitter is powered on and functioning.
– Motor Malfunction: Inspect the ESCs and motors for damage or overheating. Ensure they are properly configured in the code.
Incorporating these troubleshooting tips will help improve your drone’s functionality and ensure a smooth flying experience.
Building a drone with Arduino is an exciting and educational project that combines technology and creativity. With the right components, assembly, and programming, you can take to the skies with your custom-built drone. Start your DIY journey today and enjoy the thrill of flying! Whether you’re building a drone for fun or for practical applications, the knowledge gained through this process will enhance your understanding of electronics and aerodynamics.
Frequently Asked Questions
What components do I need to make a drone with Arduino?
To build a drone using Arduino, you will need several key components including an Arduino board (like the Arduino Uno or Nano), an electronic speed controller (ESC) for motor control, brushless motors, a flight controller (or you can use the Arduino itself), a power distribution board, batteries (LiPo), and propellers. Additionally, you may want to include a GPS module, a radio transmitter and receiver, and sensors such as an accelerometer and gyroscope to enhance stability and navigation.
How do I program an Arduino to control a drone?
To program an Arduino for drone control, you need to install the Arduino IDE and necessary libraries like the MultiWii or ArduPilot libraries, which provide flight control algorithms. You will write code to read sensor data, control the ESCs and motors, and manage communication with the remote control. It’s important to ensure that your code handles stability, takes inputs from sensors, and converts these into appropriate motor commands for balanced flight.
Why should I choose Arduino for building a drone?
Choosing Arduino for building a drone offers several advantages, including accessibility and a large community for support, which is beneficial for beginners. Arduino boards are cost-effective and versatile, allowing for easy integration of various sensors and modules. Additionally, the open-source nature of Arduino means you can customize your drone’s functionality and software, making it a great option for educational projects and hobbyists looking to learn about robotics and flight dynamics.
What are the best practices for flying an Arduino drone safely?
To fly your Arduino drone safely, always conduct a pre-flight check to ensure all components are functioning properly and securely attached. Familiarize yourself with local regulations regarding drone flights and ensure you are flying in a safe, open area away from people and obstacles. It’s also important to practice flying in a simulator first, if possible, to build your skills without risking your drone. Lastly, maintain a line of sight with your drone at all times and be cautious of battery life to prevent mid-air failures.
Which Arduino drone projects are suitable for beginners?
For beginners, some great Arduino drone projects include building a simple quadcopter or a drone that uses basic stabilization algorithms. Projects that integrate GPS modules for basic waypoint navigation or those that utilize simple remote control systems are also excellent starting points. By focusing on projects with clear documentation and community support, beginners can gain hands-on experience while learning about the principles of aerodynamics and electronics.
References
- https://en.wikipedia.org/wiki/Drone
- https://www.arduino.cc/en/Tutorial/HomePage
- https://www.sciencedirect.com/science/article/abs/pii/S1877050917302684
- https://www.researchgate.net/publication/328162943_An_Arduino-based_drone_implementation_for_educational_purposes
- https://www.ijraset.com/fileserve.php?FID=18880
- https://www.usda.gov/topics/farming/drones-agriculture
- https://www.uvm.edu/~gflom/teaching/advanced_arduino/Arduino_Drones.pdf
- https://www.nasa.gov/mission_pages/
